How To Model a 3D Hand In Blender
We are here with another tutorial and this time it is 3D Hands in not just one but a variety of different ways. Does not it sound exciting!
Do you know what the best part of creating 3D objects is? You're creating the object which looks lively. There are various techniques for drawing 3D objects, but they aren't easy to master, especially without the right guidance, tools, and knowledge. Artists who create 3D objects and illustrations manually or through software have mastered the law of perspective.
You'll understand clearly 3D objects when the artist is creating something in front of your eyes. In a nutshell, you'll have to invest months and years in learning the law of perspective and techniques for creating 3D objects.
If you are new here do not forget to click below and start your 3D Designing journey with Iconscout
You’re interested in learning about how to draw 3D hands? So without further ado, let's get started with the best techniques for creating 3D hands along with the step-by-step procedure. Today we’re explaining the poly modeling technique guide for cre1ating 3D objects. Take out your tools and let's create 3D hand!
What Do You Require For Designing 3D Hands?
To get started all you need is a laptop or personal computer installed with 3D software which you are comfortable with. We will be using 3D Blender software that is 100% free and easily available on the internet to create any 3D design just like we did for creating our snowman.
To download this just go to www.blender.org and hit the download button. Once downloaded, open the installation file and install it in a directory of your choice on your computer drive.
Once Blender is installed on your computer, you're all set for creating free 3D hand illustration in less than 10 minutes. Let's get started.
Here Is The Step-By-Step Guide For Creating 3D Hands-On Your Computer
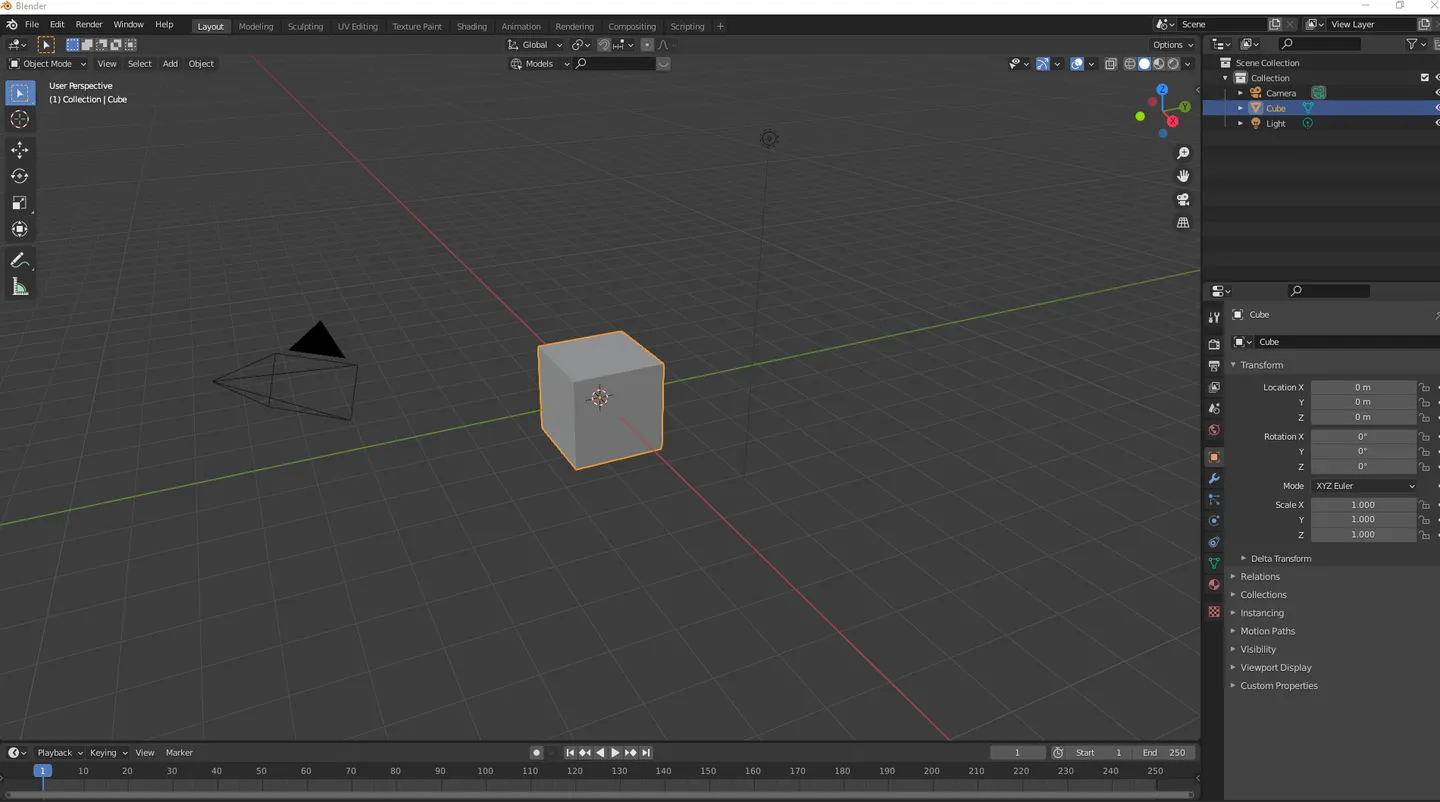
Run blender for the first time. You will be greeted with this user interface. As we explained earlier, you will be able to explore more as you move around the user interface which is your 3D Space known as the Viewport.
The default object in Blender is this cube available on your screen. With this, we will now create your 3D hand easily.
- For moving any object in this software, press the middle mouse button and revolve the object on your screen. To gain even more control, press and hold shift + middle mouse to navigate.
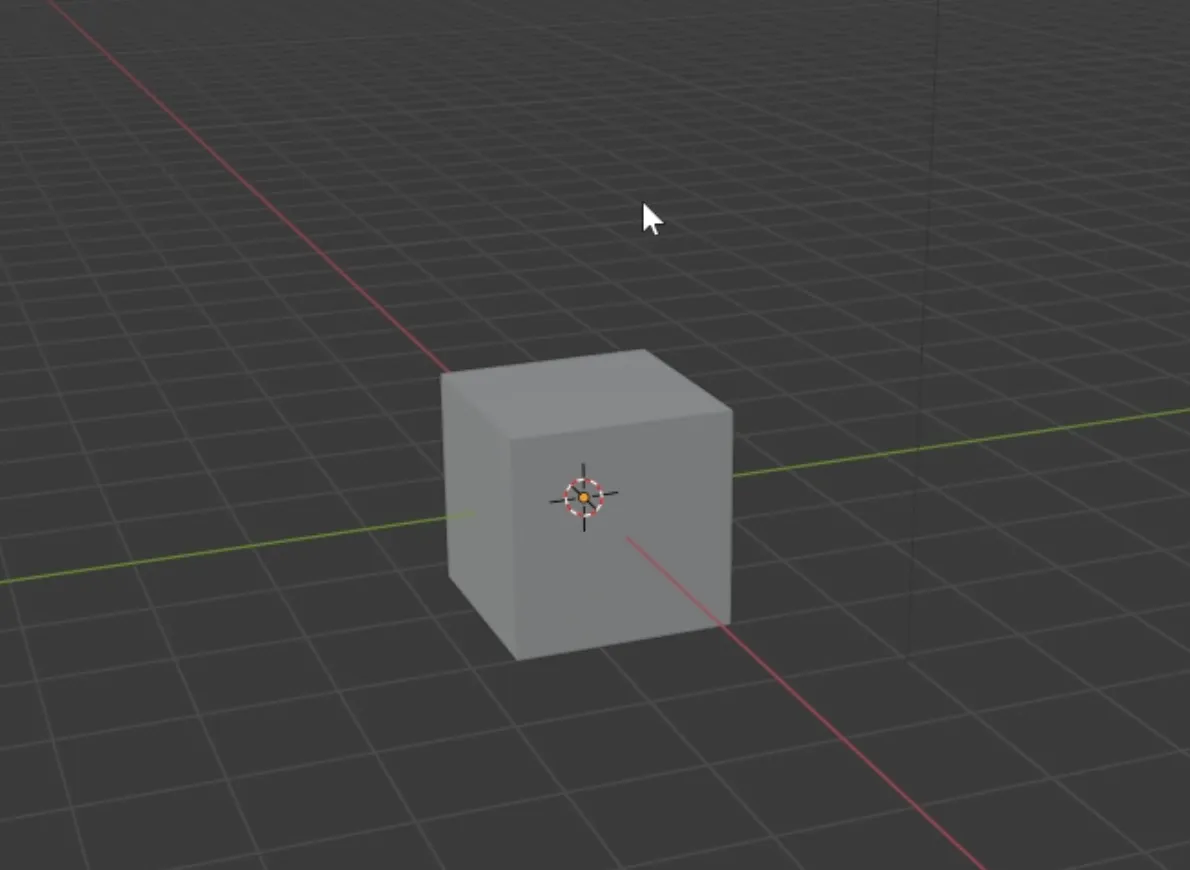
2. Press the Alt+Z buttons for turning on the X-ray mode. Now you have gained more control of the default cube in the software i.e. you can clearly see what we are selecting and what we are not.
We want to scale this cube into a palm size so that we have a base for our hand.
3. Press the 'S' button for scaling the cube. Press' Y' to widen the Y-axis, and use the mouse for shrinking the size to a thin palm width.
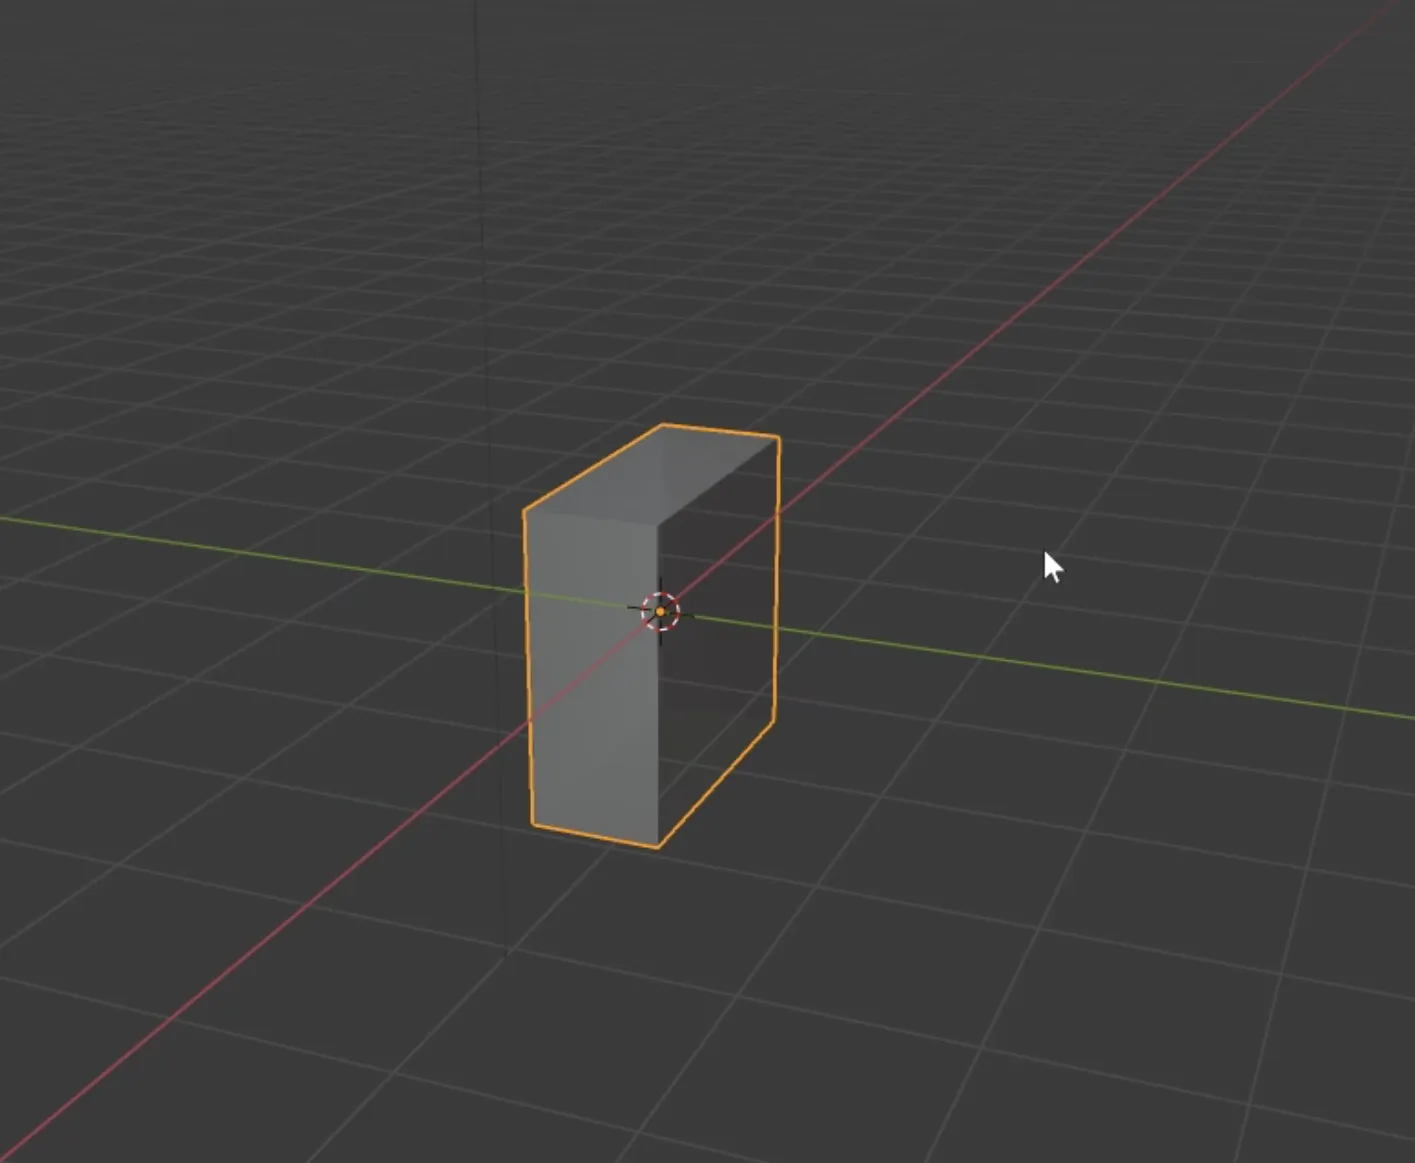
4. Click on the Alt+middle mouse button for viewing the cube from the front or sides. Now you've to make loop cuts using the mouse for designing the four fingers.
5. Press the Ctrl+R button and left-click on the browser. You have to press these buttons three times for building four different segments of the cube.
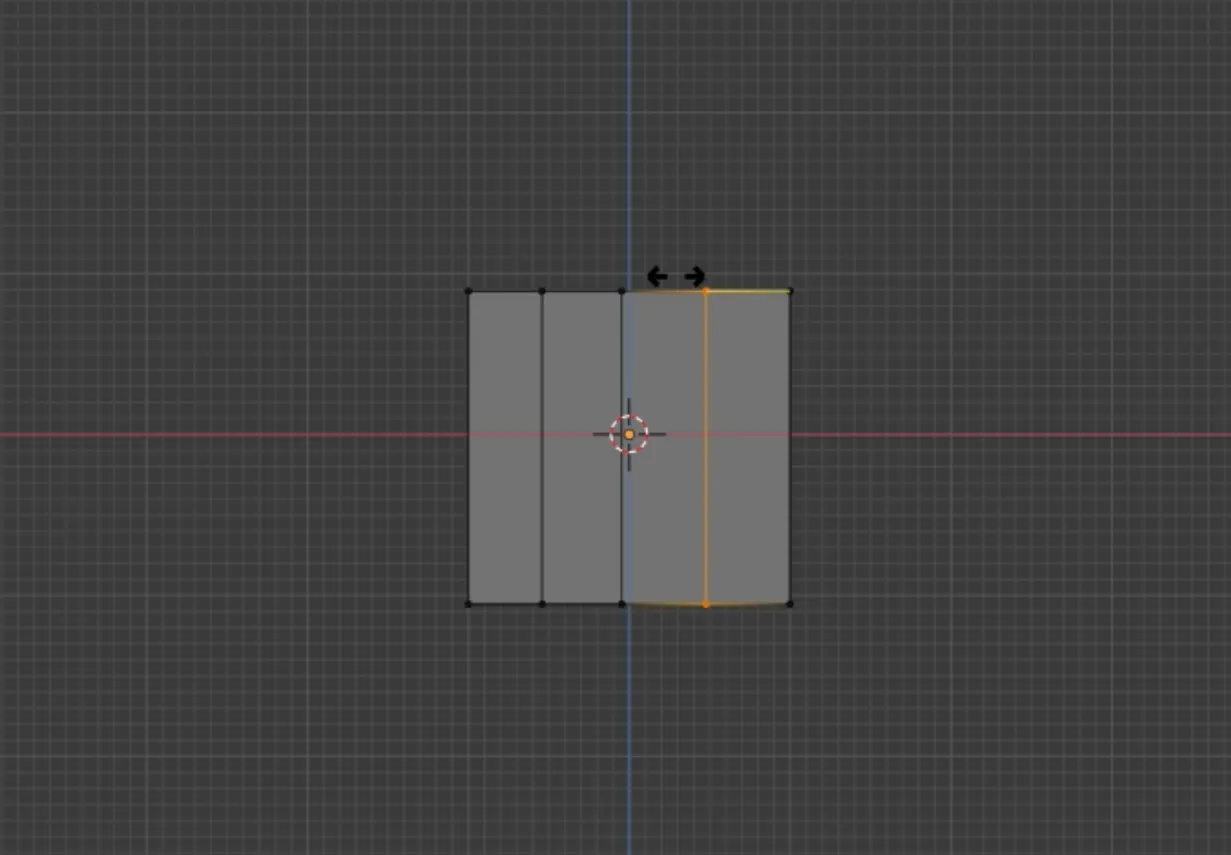
6. Once done, you have to do the same for the thumb area. Create, two loops at the lower palm portion.
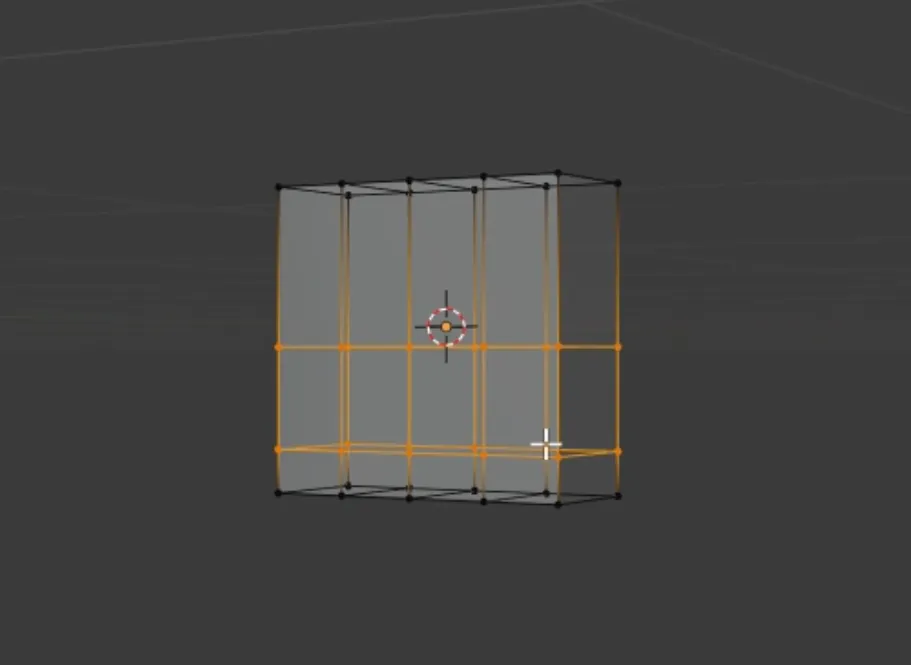
7. Once you follow all the above steps, click on the Apply All Transforms button.
8. Let us create fingers for the palm. To do that, select the four faces on top of the palm.
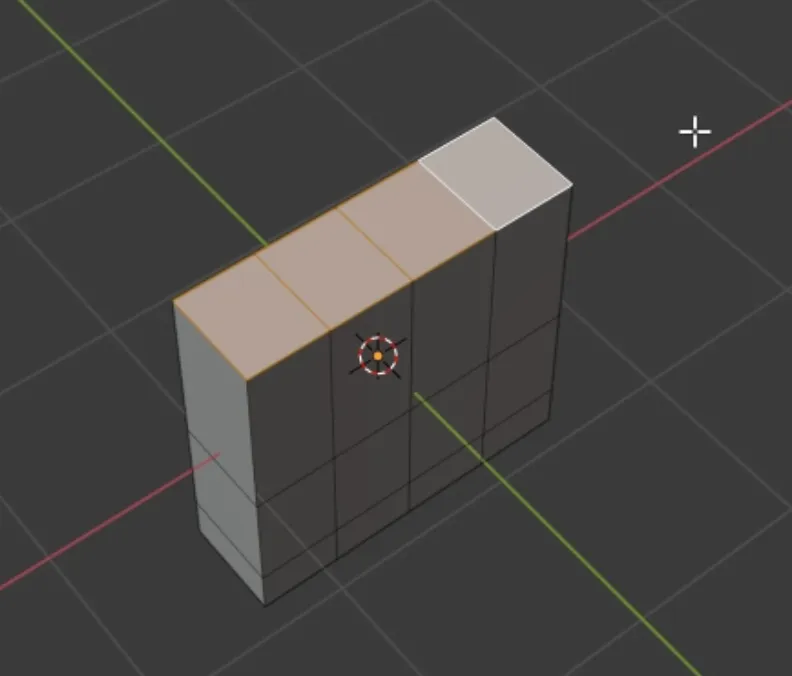
9. Press I twice to individually inset the four faces. Once done, use the mouse to adjust the length of the inset and press left click.
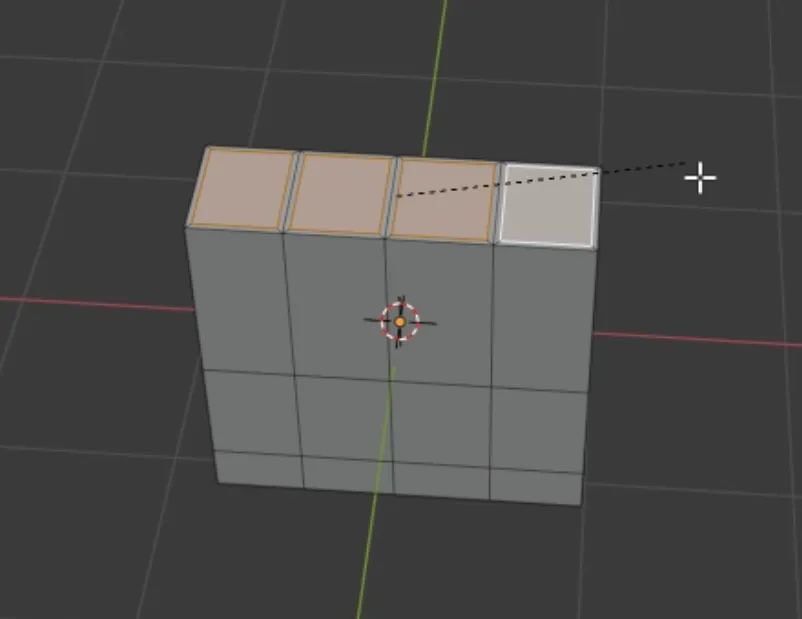
10. Lets switch to the front view and press 'Z' button to extrude in the Z-axis then press 'E' button for extruding the blocks.

11. Follow the two steps mentioned above for selecting the thumb side. Either you can press E, Z, or Y to extrude depending on the axis.

12. I want you to take a look at your own hand and see how the fingers are aligned in different heights. Click on any finger, press 'Z' button, and use your mouse to increase or decrease the height. Follow this step for all your remaining fingers.
Do this for all the fingers and you will get something like this.

Do this for all the fingers and you will get something like this.
13. To get the rest of the arm, select the bottom faces of the hand and then extrude it downwards by pressing E and Z buttons.
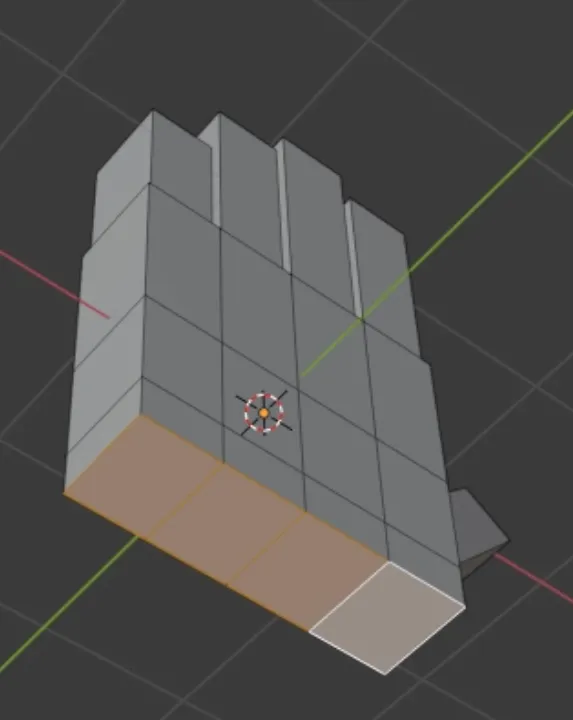
13. Your 3D hand might be looking like the old graphics of the 90s game. For making it look realistic, you need to decide subdivision modifier.

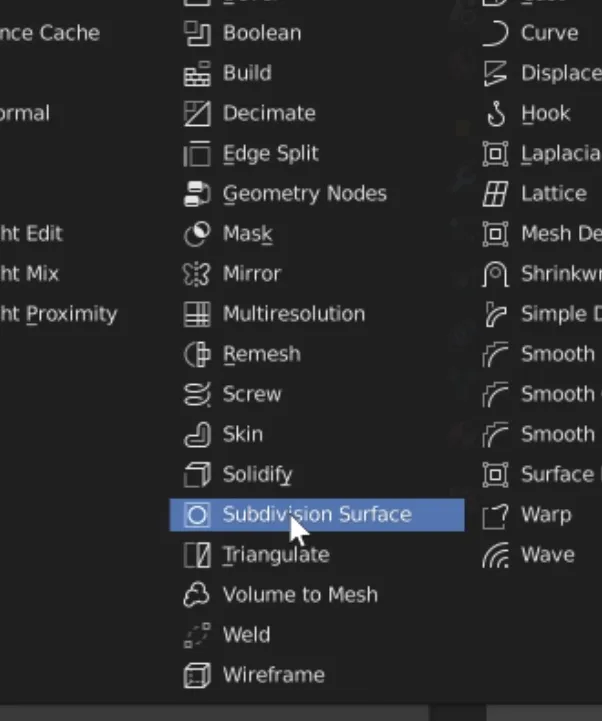
14. For using the subdivision modifier, head towards the right section and click on the wrench icon. Press "add the modifier" and select the subdivision surface modifier.
15. Once you click on this option, your hand's vector will appear on your screen.

16. To add more natural details, you have to create some loop cuts by clicking the Ctrl+R buttons. You have to follow this step for all the fingers. For adding an additional loop cut, click Ctrl+R buttons and 'S' for scaling the fingers.

Do the same for the rest of the fingers and you will have something like this.
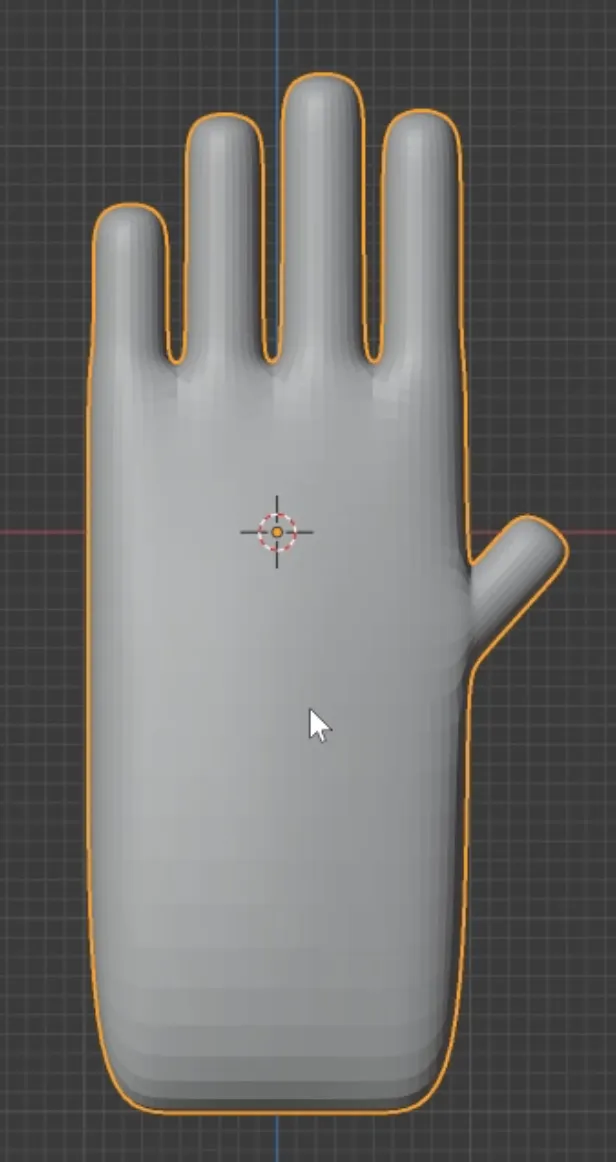
17. Add an additional loop cut by pressing Ctrl+R at the wrist area to scale it inwards by pressing S button.
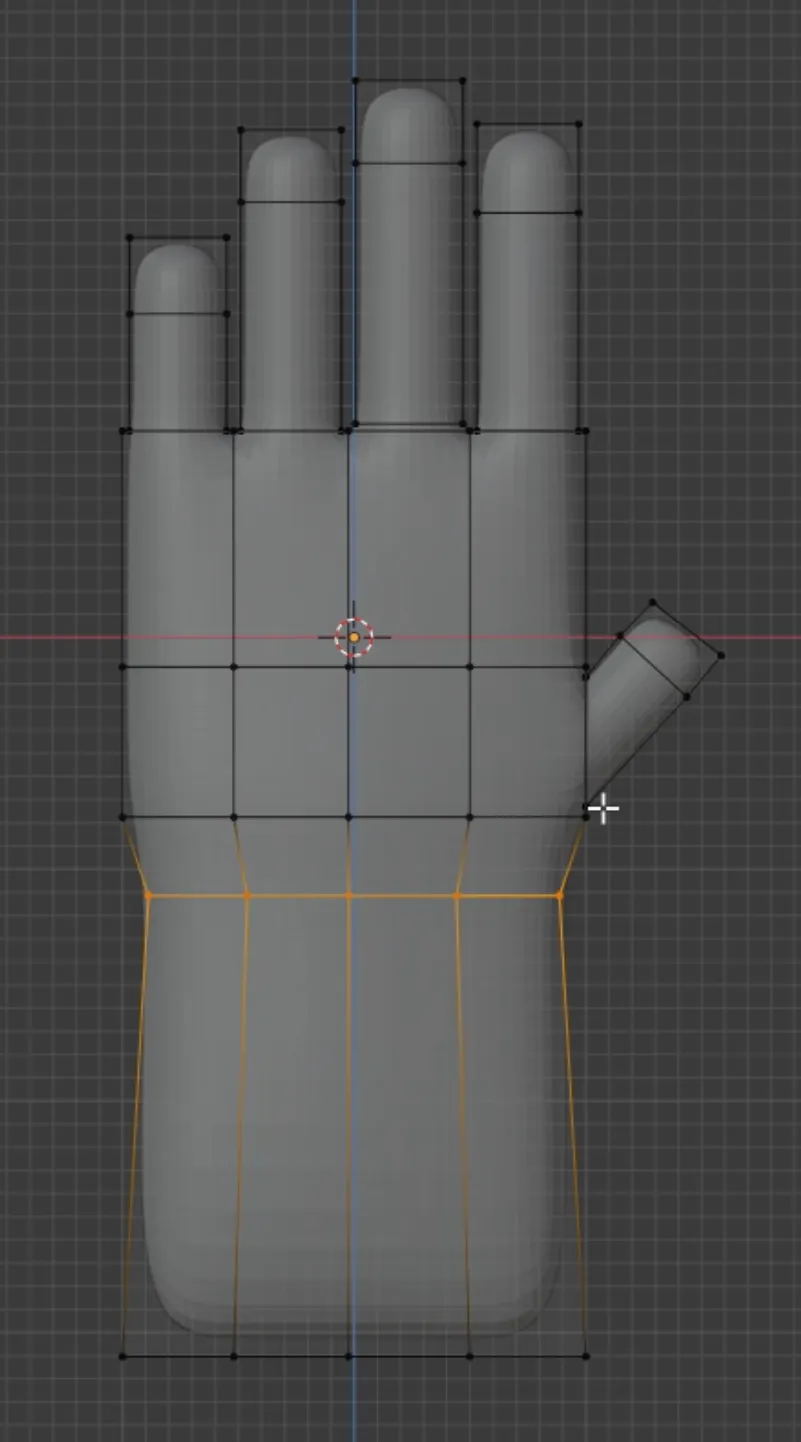
18. This is the final step where you'll enhance your thumb's height. Select the thumb using the browser and press the 'G' button for moving the edges and vertices.
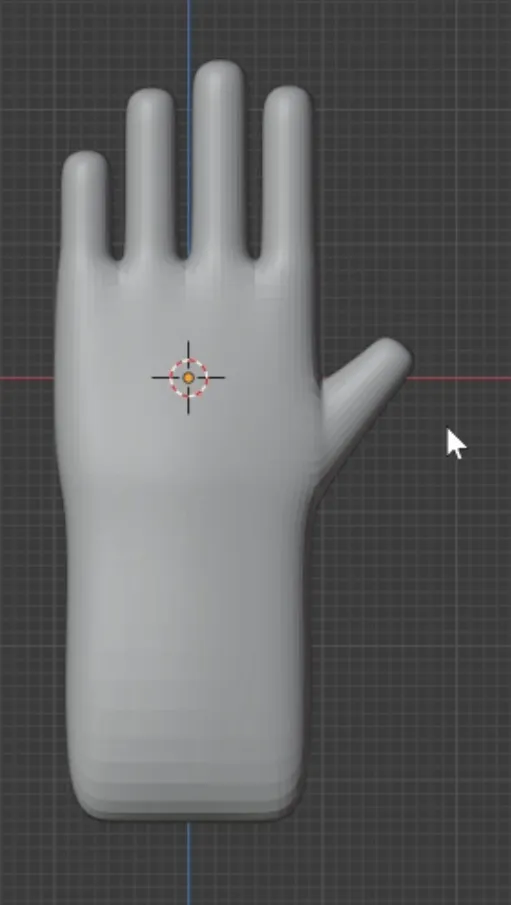
Final result
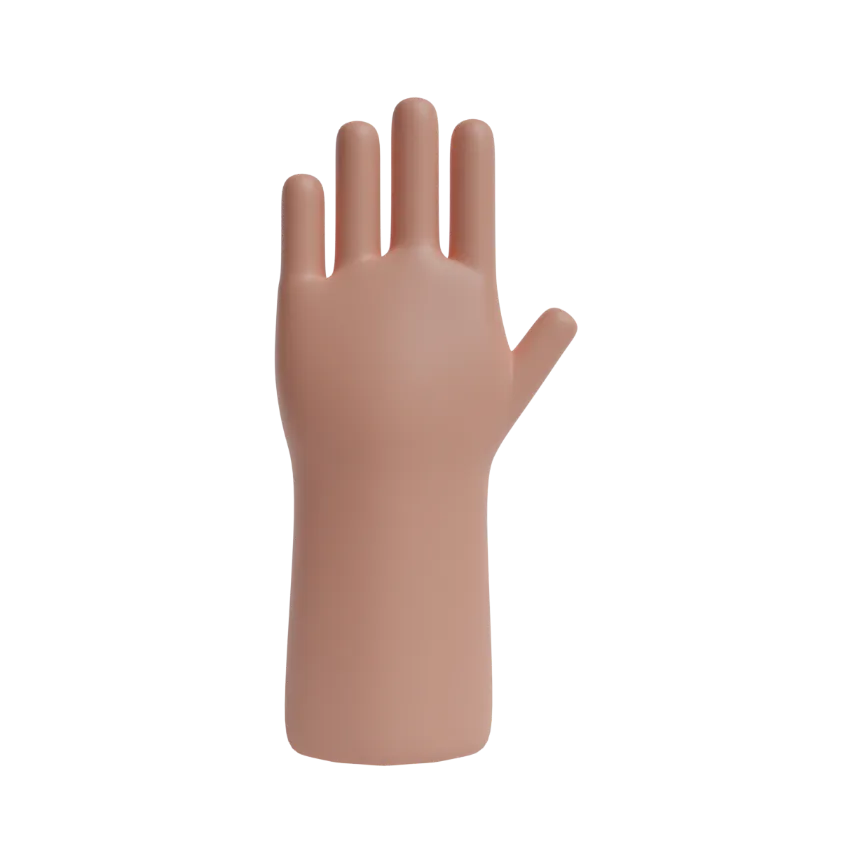
Hurray, your hand is ready on your screen. Well Done! GIVE A PAT ON YOUR BACK NOW!
So this was our ultimate guide for creating a step-by-step guide for creating 3D hands on your computer in less than ten minutes.
We have hundreds of 3D hands in various file format. Click on the below image to download.
Do visit Iconscout to download from our 3M+ assets library of icons, illustrations, 3D. This massive collection of assets in the form of a library waiting for you, so what are you doing here? Go and check it out right now!
If you have any suggestions or want to be a part of the community, join us us on our Community Forum on Discord. We will bring another helpful article next week, till then, Happy Designing!


