


Tutorials
Use 3D assets in


Free 3D Icons
Use Lottie animations in

Free Lottie Animations
Use Illustrations in


Free Illustrations
Use AI in
AI Images
Smart Tools
glTF 3D Editor
Edit 3D icons & export glTF/GLB models for web & AR.
File Converter
Batch convert assets to SVG, PNG, PDF, & EPS instantly.
Illustration Kit Editor
Mix & match styles to build custom vector illustrations.
IconScout API
Integrate millions of design assets via our REST API.
Starting Your 3D Journey With Blender | 3D Blender Tutorial
As predicted by many experts, 3D Design will be one of the biggest trends of 2021 in Graphic design. The biggest of tech companies are adapting to this new 3D culture. Sounds fascinating? Check out the simple guide, It has step by step guide to creating your first 3D model.
3D has been around for a while now in the design world. From Profile pictures to the Instagram artist, all are using these little 3D creations is top off the roofs. Just recently I notice that this has been market a lot and we do decided to create this amazing introduction to 3D guide for you guys. I am Hamilton John and I am gonna be your tour guide for this blog. The journey through the depths of the three-dimensional world of digital design. It can be pretty complicated to understand how 3D works and we are gonna make it simple together.
Small children we are all taught how to draw and create shapes using pencil and paper. As we grow our imagination begin to unlock, and 3D gives you the key to unlock it and create these beautiful things into reality. Before beginning let's start with why and how with what!
What is 3D?
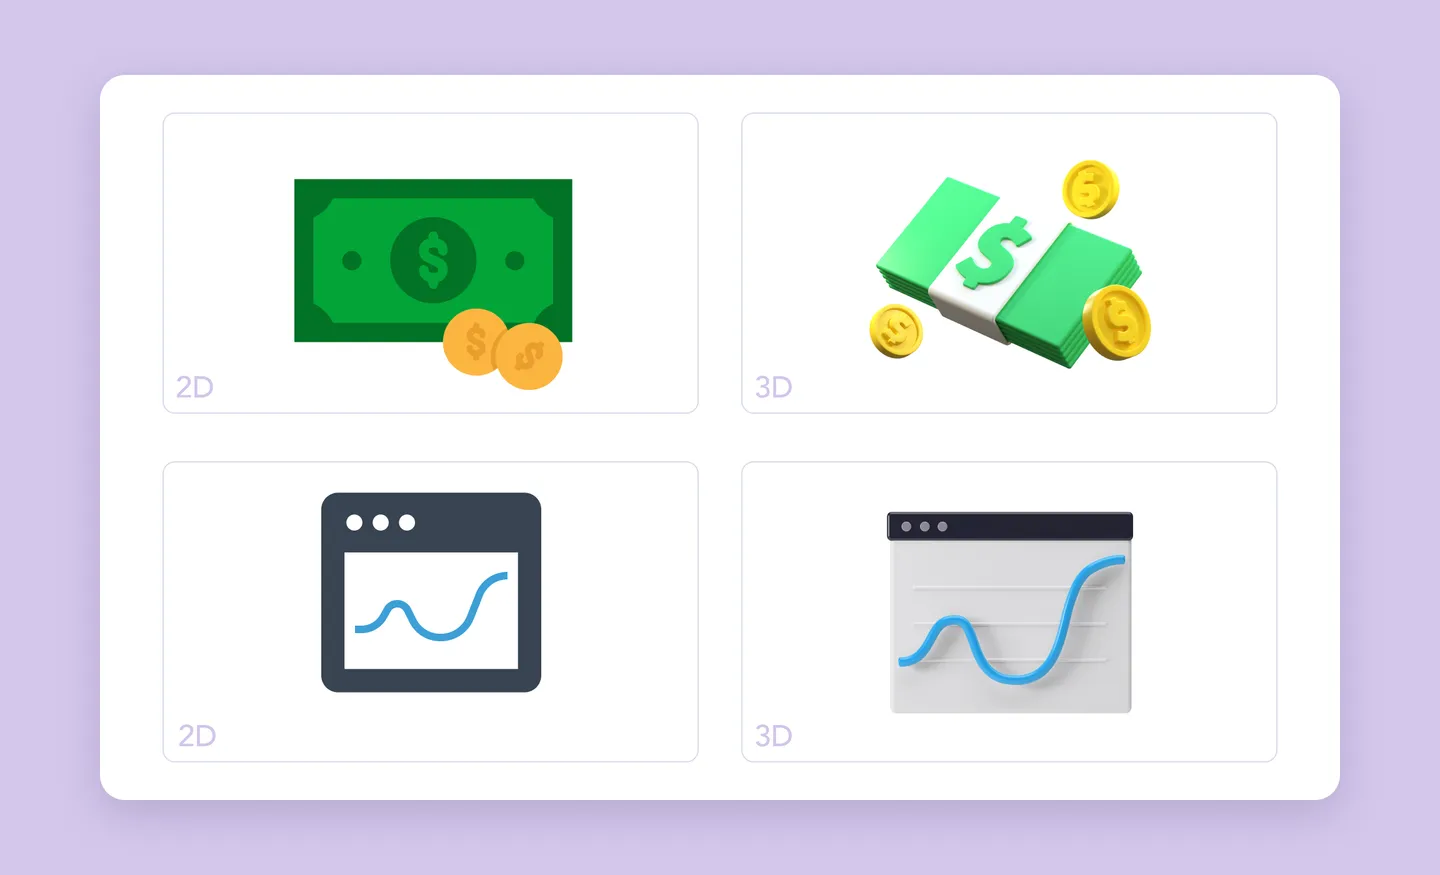
3D product design is the creation of a product in a virtual environment in which it has three dimensions that is it carries height, width, and depth. The result is a beautiful digital life like design of your product. One you can explore in detail with your imagination. 3D design makes your life as a product designer as well as someone who is looking to express themselves through their art. Taking a daily life example when we go to theatre’s to watch movies, some are of three-dimension. Although they are drawings, they look more life like.
In mechanical terms, 3D media occupies space defined through the dimensions of height, width, and depth.
Why must one learn 3D?
3D leads you to very unexpected or unwanted results when the design, imagination along with the sculpting 3D software is used. It also allows for a much greater and detailed control on the design. Knowing how to create 3D models gives designers the ability to increase their aesthetic vocabulary. Along with that the ability to model and render an object in a more realistic way gives designers an excellent way for evaluating their design. There isn’t a single 3D modeling techniques today there are many different approaches making each design unique in themselves.
Fun fact that 3D when combined with 2D techniques allows you to explore new creative workflows and increase quality and efficiency of your design.
Growing 3D Culture
My interest in 3D kept growing since I first landed sight on it and since then I’ve witnessed an enormous shift in the type of work designers are making and sharing. It has been really motivating and fascinating to watch things come in and out and going on about the internet. 3D has been all over our minds and with the growing popularity of 3D software like blender, is amazing to see.
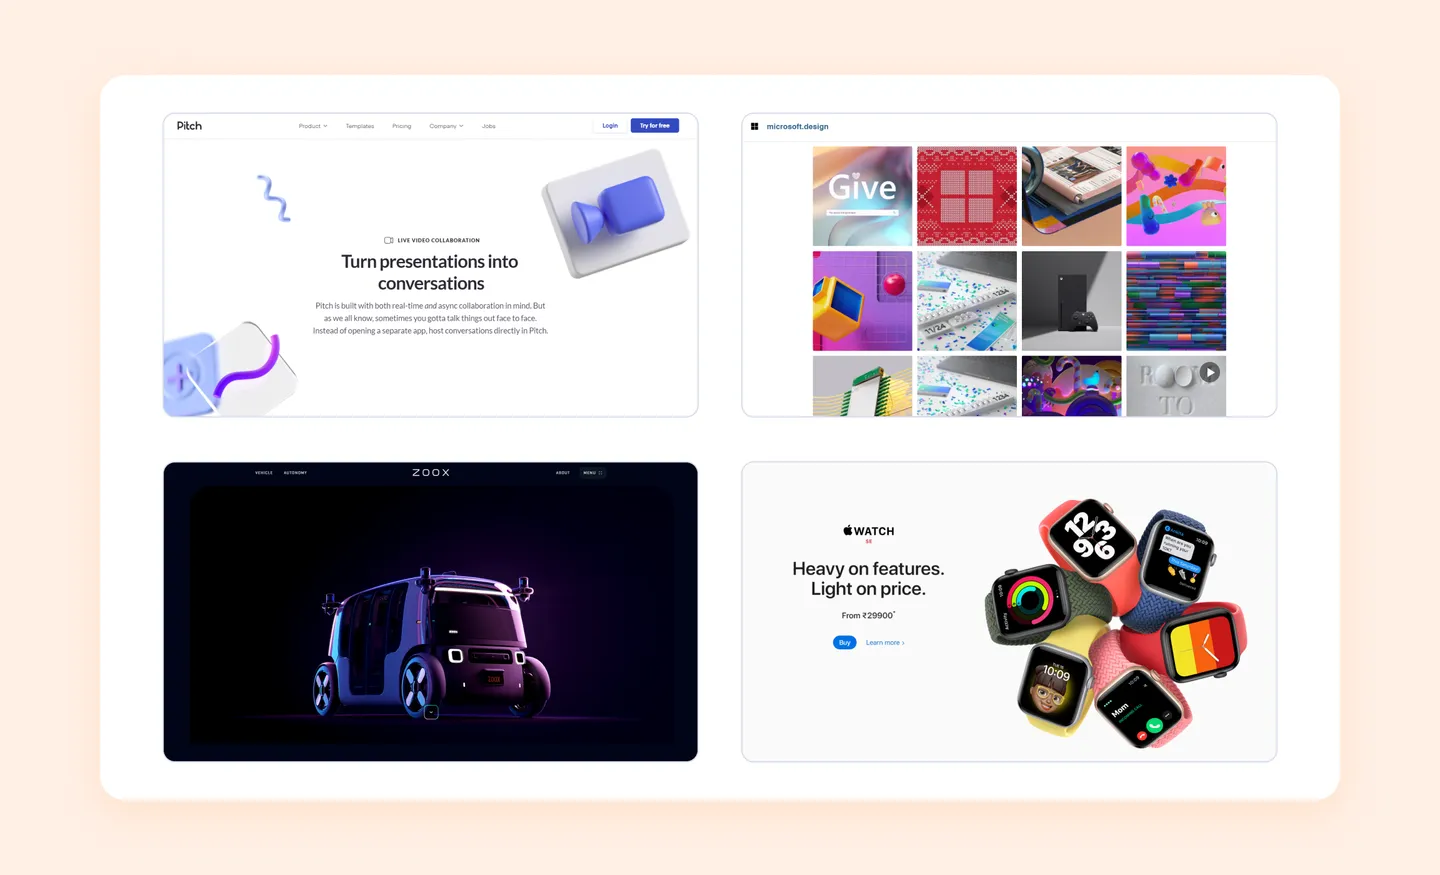
3D with the growing popularity has definitely made industry for itself as well. Let me take the honor of informing you that talking about today till date 3D is used in several fields ranging from Illustrations, Icons, Product Design, Movies in form of VFX, Video Games, Educational Videos, and many more such places. To name a few industries which have been incorporating 3D are pitch who have used them in their website so nicely, wallpapers in apple watches, Microsoft design, zoox and many more. So basically, 3D is everywhere today! Let’s start the introduction on how to create 3D shall we?
What do you need to get started?
To get started all you need is a laptop or a computer and any 3D software which you are comfortable with. There are lot's of other 3D software available in the market like Autodesk Maya (used in movies), Cinema 4D ( used mainly for motion graphics), Fusion 360 ( preferred for hard surface modelling) and Google's Sketch Up. In this guide, we will be using the free software Blender.
Here is a list of things we will be covering as part of the core aspects of 3D design.
- Modelling
- Texturing
- Lighting
- Rendering
You will learn all the core aspects easily using this guide and today we are gonna create a snowman. Let us start this off by learning how to create a snowman.
Step 1: Beginning
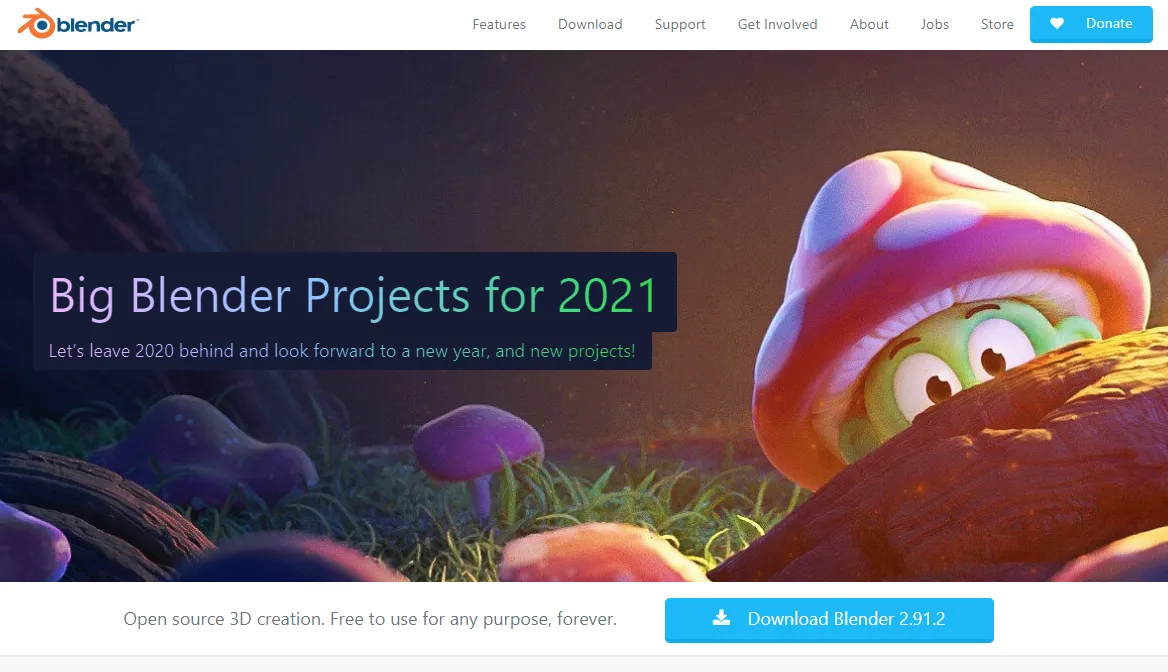
To get your journey started into the 3D world you’ll first need to download Blender software, this is free for you to use. To download this just go to www.blender.org and hit the download button. Once downloaded, open the installation file and install it in a directory of your choice on your computer drive.
Step 2: Viewport
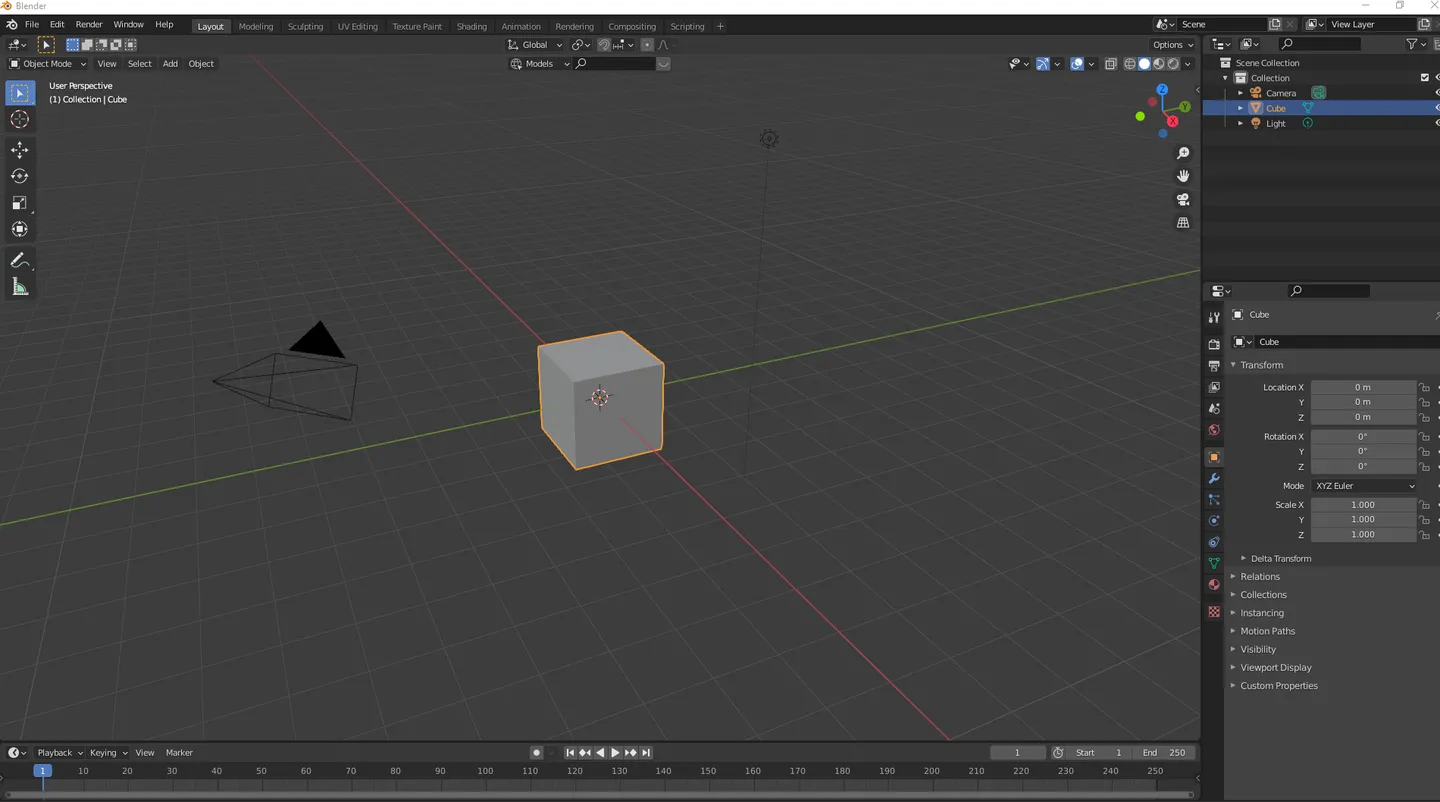
Once you in the software, you will be greeted with this user interface. This is your slate called the viewport, where you will create 3D. Here you can move in any direction you want up, down, sideways, back and forth. To move in 3D space all you have to do is press and hold the middle mouse and then you would be able to navigate and revolve around the 3D space. To gain even more control, hold shift + middle mouse to navigate.
Step 3: Modelling
We will start with the base of snowman, we have to first delete the pre-existing default cube. Left click on the cube and press X to delete it. To confirm deletion press X once again.
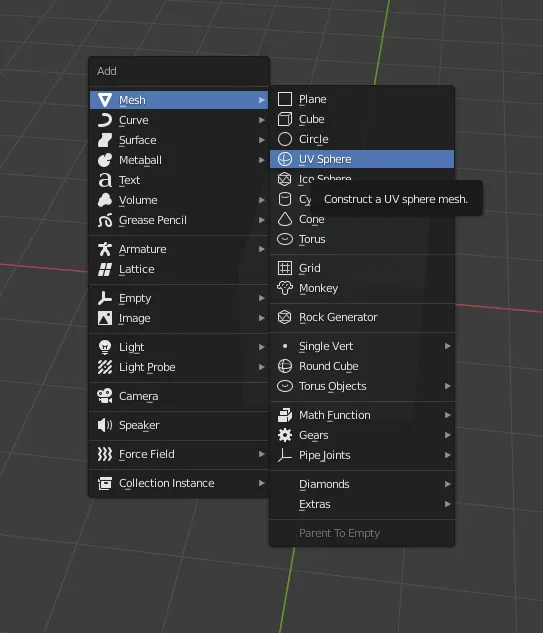
Now that we have a blank slate, we will begin with our first aspect modelling and add in another shape that would resemble a snowman, that’s right! A sphere. Press Shift+A, a small window will pop up in your viewport. Inside it, select Mesh, and an additional window will pop up showing you the list of primitive 3D shapes the software has. From it, select UV Sphere.
Create The Torso
The base of our snowman is ready, we need to make its torso and head as well. We need to add two more spheres for that. Let's duplicate the existing sphere. While selecting the sphere, press Shift+D to duplicate the sphere and press the right click of your mouse to let go of it. Place it above the first sphere, select the new sphere and press the move tool located on the top of the left shelf of the viewport.
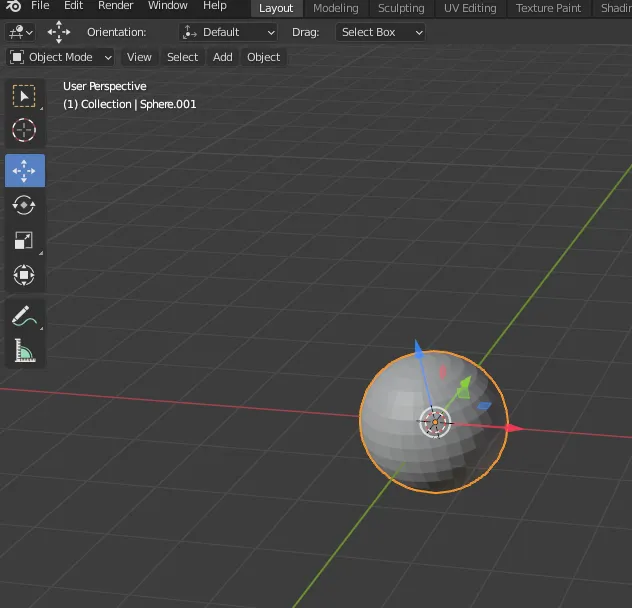
Select the move tool, you will see three arrows in your selected UV Sphere. These are the directional axis. The blue arrow represents motion in the Z-axis, the red arrow represents motion in the X-axis and the green arrow represents motion in the Y-axis.

For our snowman, we need to move the sphere above the first sphere, which is naturally the Z-axis. So, left-click on your mouse and hold to drag the sphere upwards. Stack those two spheres on top of each other. Do not forget to take this time to reduce the size of the second sphere. While selecting the 2nd sphere, press S and then use the mouse to drag it left or right to scale it to the appropriate size.
Create the Head
To create the head repeat the same steps of duplicating, moving as well as scaling the 3rd sphere. Once, we have all three spheres, the body of our snowman is ready. All that is left to do is add the eyes and nose.
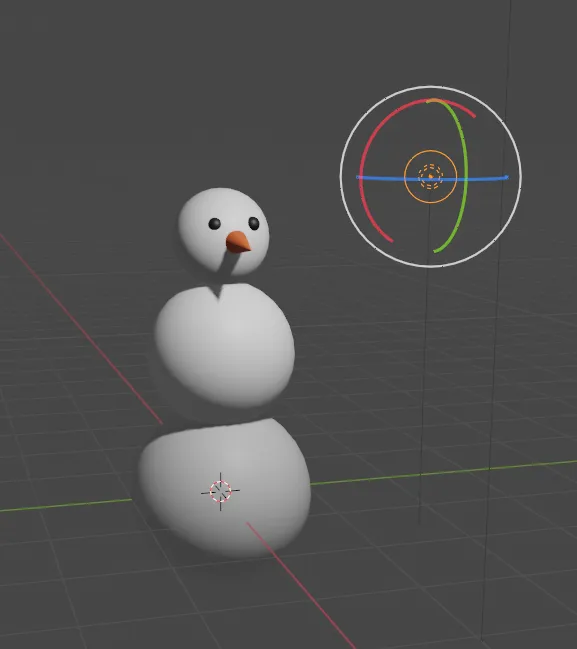
For the nose take a cone which represents the carrot that a snowman has for a nose. To add the cone, press Shift+A and select Mesh from the drop-down menu, and select Cone. Now rotate your cone and align it perpendicularly to the face, using the Rotate tool from the top left shelf.
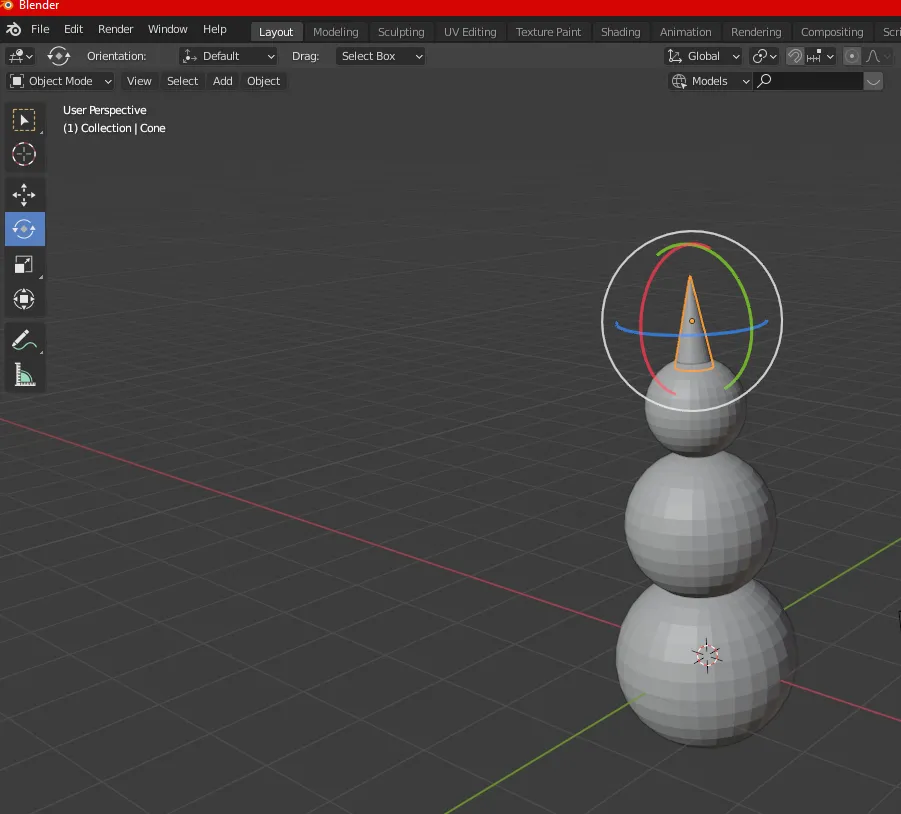
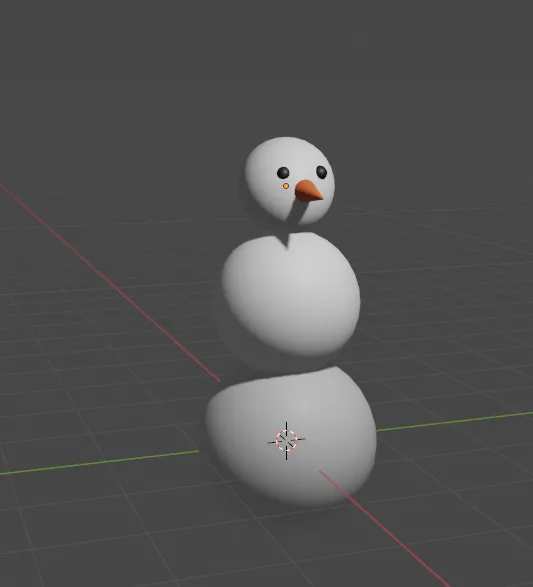
Click and drag on the green arc to rotate the Y axis. Scale it using the scale tool and move it down to where the nose of the snowman would be. To add the eyes, follow the same steps we used for the body of snowman. Once done, we will have something like this.
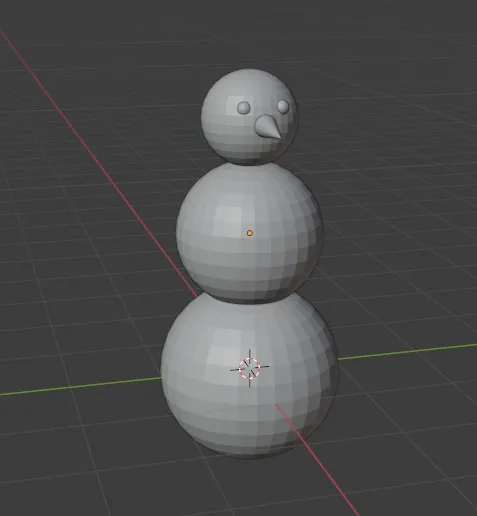
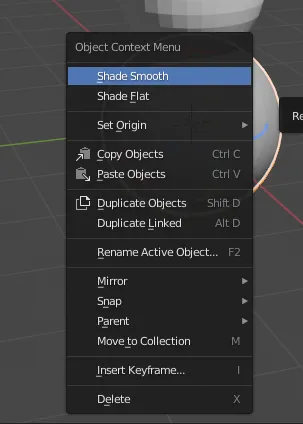
To smooth out all the hard edges of our shapes, select the shape and right click on the mouse selecting Shade smooth. By doing so, we get a much cleaner and pleasing look for our snowman.
Step 4: Texturing
Now that the basic is done, let's start with Texturing. Texturing is giving colors and material to our model. To get started, select the model you want to give the color from head to toe. On the right shelf, you will find Material Editor select that.
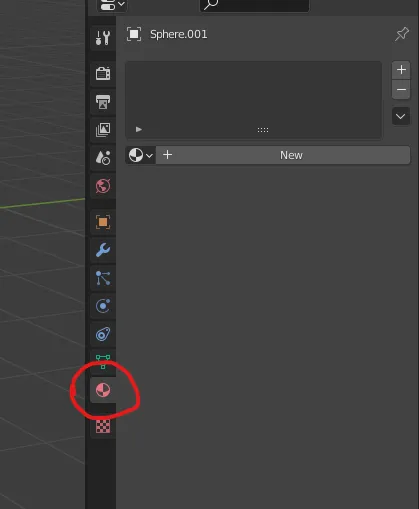
To add material, press on New. You will receive a lot of options of the material select the one you want according to your taste. For color click on the base color option and choose white, or any color you wish to give your snowman. Remember, 3D is all about freedom, there are no limits as it is limitless!
Do the same for other elements and select colors for them as well. Once done, to visualize the colors yourself in the viewport. Select this button on the top right shelf in the viewport.
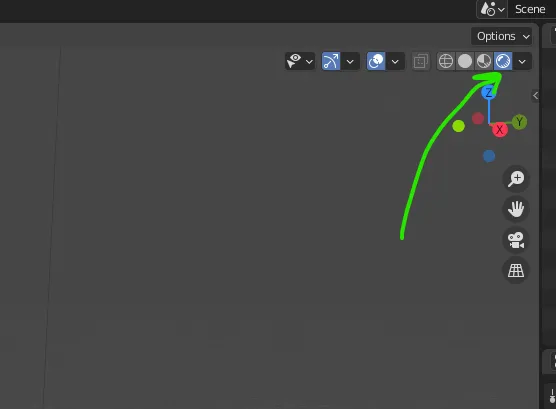
After clicking on the Viewport Shading button, now you will be able to visualize the snowman in real-time, like this.
Isn’t he good-looking?
Step 5: Lighting
Our snowman is ready. It is time to give it some lighting to visibly see our character in better light. Now by default blender provide you a light source, but we will be using additional lights as well for this guide. To add a new light source, press Shift+A and select Light from the drop-down menu, and then select Point Light.
Place the new light you have selected around the snowman using the move tool we learned previously. Your light should look something like this.
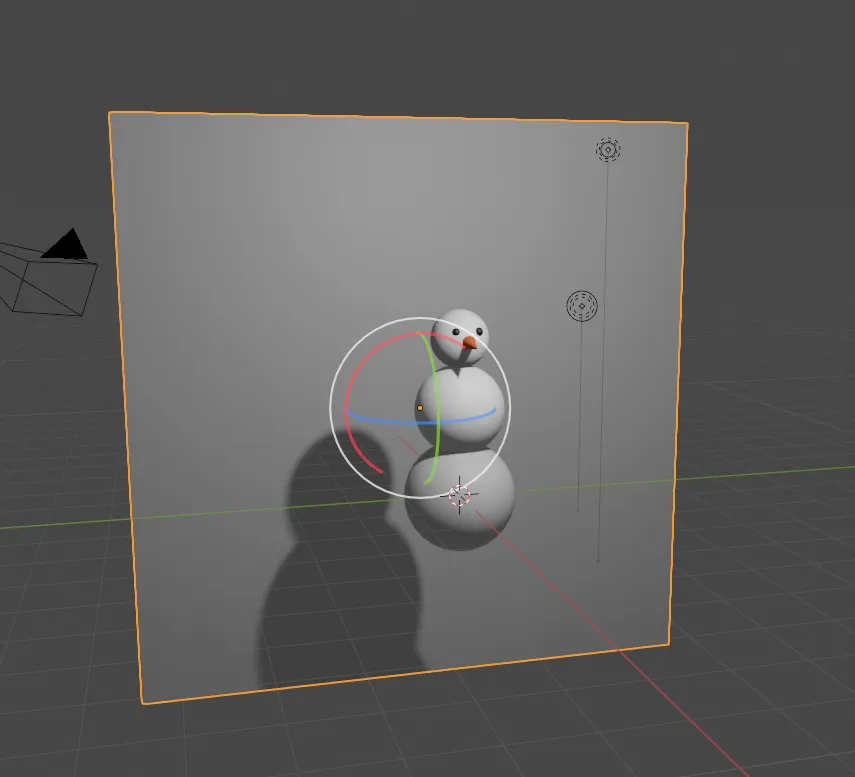
Any lighting setup is incomplete without its background. To add the background in the scene, press Shift+A and select a Plane from the Mesh menu.
Using the move, rotate, and the scale tool, align and scale the plane parallel and behind the snowman like this.
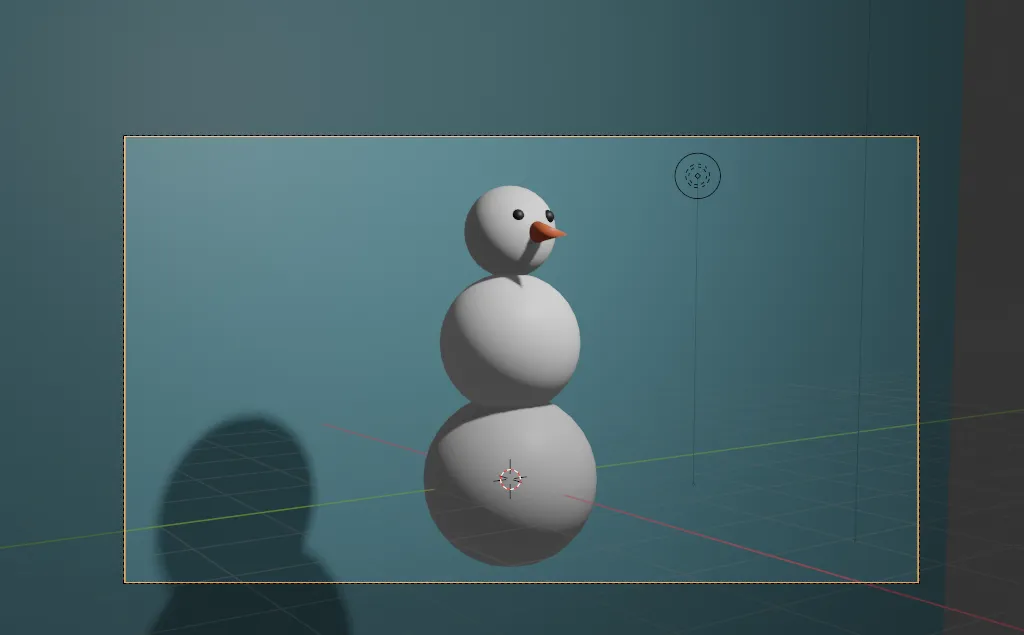
Now we have the perfect background setup. Let us give a colour to this background. To do that, follow the steps we did in the texturing part of the guide and select a backdrop colour of your choice. I am going with blue.
Step 6: Rendering
We have our models, materials, and lighting in place. We only have to render it and receive it in a favorable file format like PNG or a JPEG. To do this we have to first place a camera in front of our subject. Align your screen so that you are seeing the snowman from the side view or the front view the angle of the camera is completely unto you. Now press Ctrl+Alt+0 to lock your camera to the current view. The output should be something like this.\
Now to render this, press F12 on your keyboard. You will be taken to the Render View Window and this is where you will receive your final image. From the Image drop down Menu click on Save As to save this file anywhere you like on your Computer.
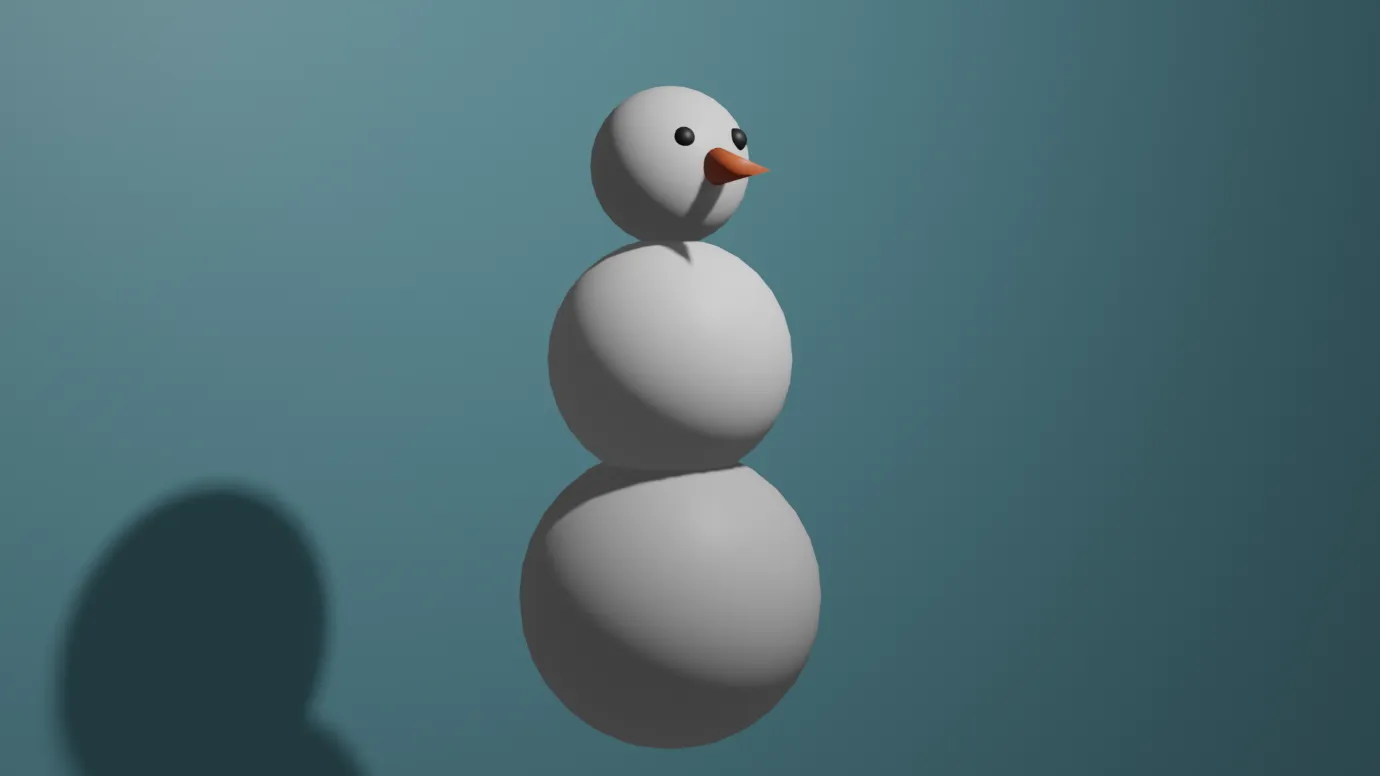
That’s it folks! We have successfully learned how to create a snowman in 6 Steps! This is the final result we are able to achieve. That’s pretty much it! I hope I was able to give you an outlook of what 3D is and I hope it helps you to explore more ideas of your own.
This is one of the many tutorials that we are planning to put up. These are for everyone those who are searching to begin their journey in 3D as the name suggests and even for the ones who wanna be master of 3D. And yeah That’s it folks! We have successfully learned how to create a snowman in 6 Steps! This is the final result we are able to achieve. That’s pretty much it! I hope I was able to give you a outlook of what 3D is and I hope it helps you to explore more ideas of your own.
Don't forget to check Iconscout to download from Millions of icons, illustrations, and 3D. We have a huge collection of free icons, free illustrations, and 3D Assets for you.
Hope you have fun with this one we will be back soon. Till then Happy Designing!
Share on


Related Blogs

Unwrap the Ultimate Creative Gift: Full Access to 12.9M+ Assets & AI Tools
