


Tutorials
Use 3D assets in


Free 3D Icons
Use Lottie animations in

Free Lottie Animations
Use Illustrations in


Free Illustrations
Use AI in
AI Images
Smart Tools
glTF 3D Editor
Edit and create stunning 3D Icons in no time
File Converter
Convert your graphic assets into various format easily
Illustration Kit Editor
Try our Illustration Kit Editor to experience endless design possibilities
IconScout API
Integrate highly-customizable design assets within your platform
How to create Santa Claus Hat icon in Adobe Illustrator
Here is a step by step tutorial on how to create a Santa Claus hat icon on adobe illustrator. Hope you enjoy recreating these!
Hello folks! Today in our new article series ‘Icon Design Tutorial’, we are designing Santa Claus Hat icon in Flat Style in few simple steps. We are using Adobe Illustrator 2017.
After the success of LogoDrop, Iconscout is bringing plugin — Icondrop for Sketch, Illustrator, and Photoshop.
You can download it from here: https://iconscout.com/icondrop
Happy Designing!
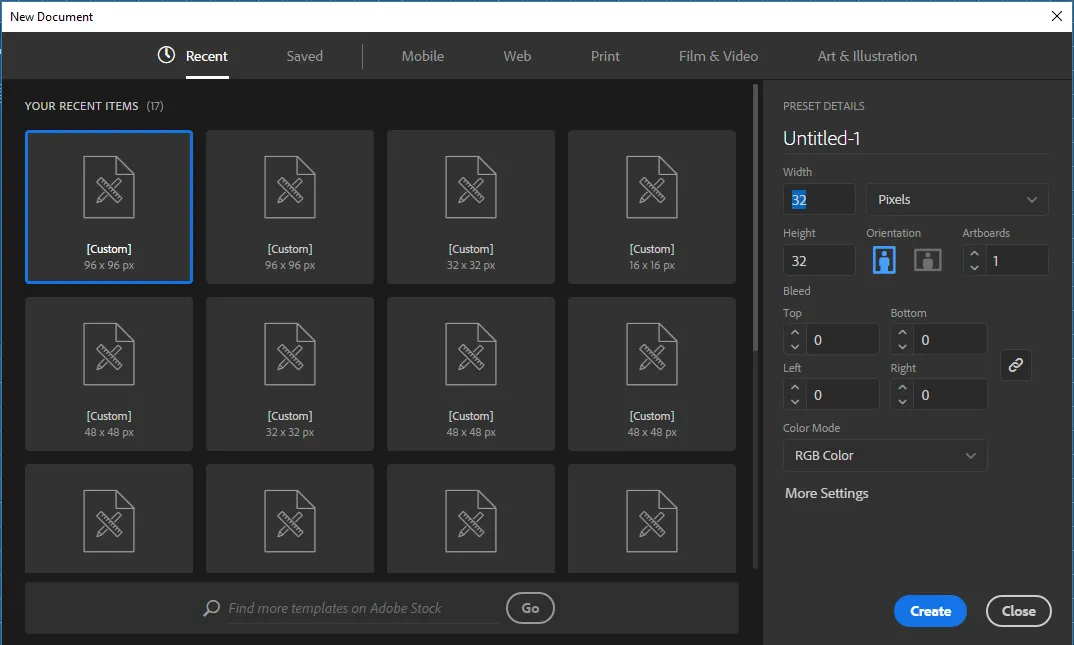
1. Setup New Document
Open Adobe Illustrator. Create a New Document (File -> New or Ctrl+N or Command+N) with the following description:
- Width: 32px
- Height: 32px
- Artboards: 1
- Color Mode: RGB
- Orientation: Vertical (Checked first icon)
2. Setup Grid & Guides
Step 1:
Open Preferences dialog (Edit -> Preferences -> Guides & Grid)
- Gridline every: 5px
- Subdivisions: 5
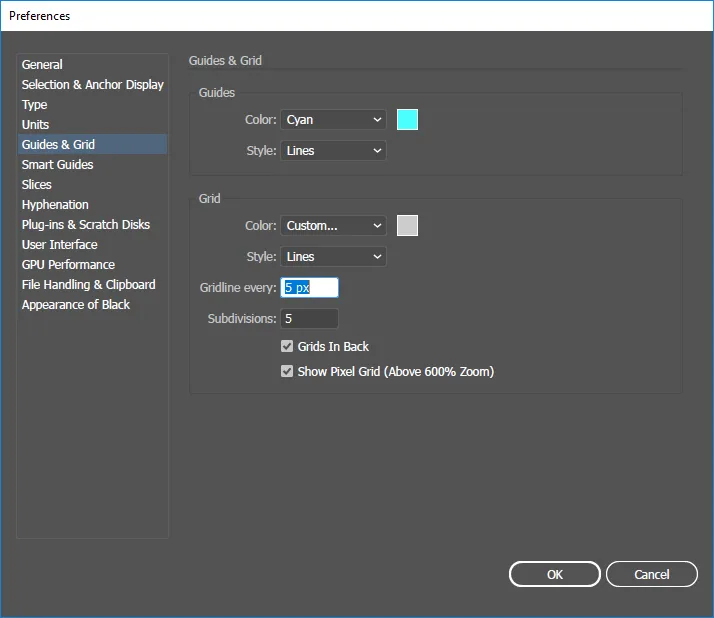
Step 2:
Please ensure Snap option active.
View -> Snap to Grid & Snap to Point
3. Santa Claus Hat Phase 1
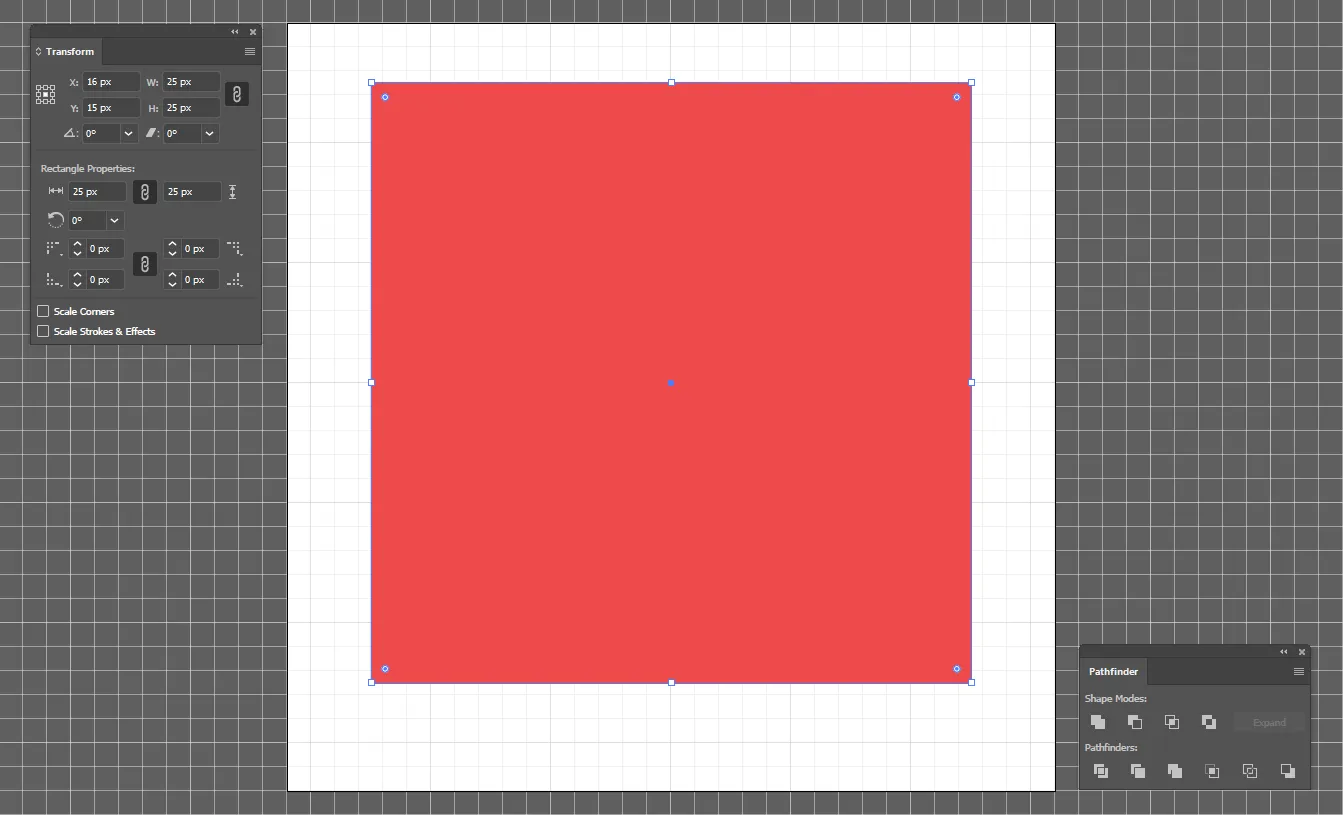
Step 1:
Grab Rectangle Tool (M) and create a 25 x 25 px Square at the center of Artboard.
- Width: 25px
- Height: 25px
- Stroke: 0px
- Fill: Color: Red (#ef4a4c)
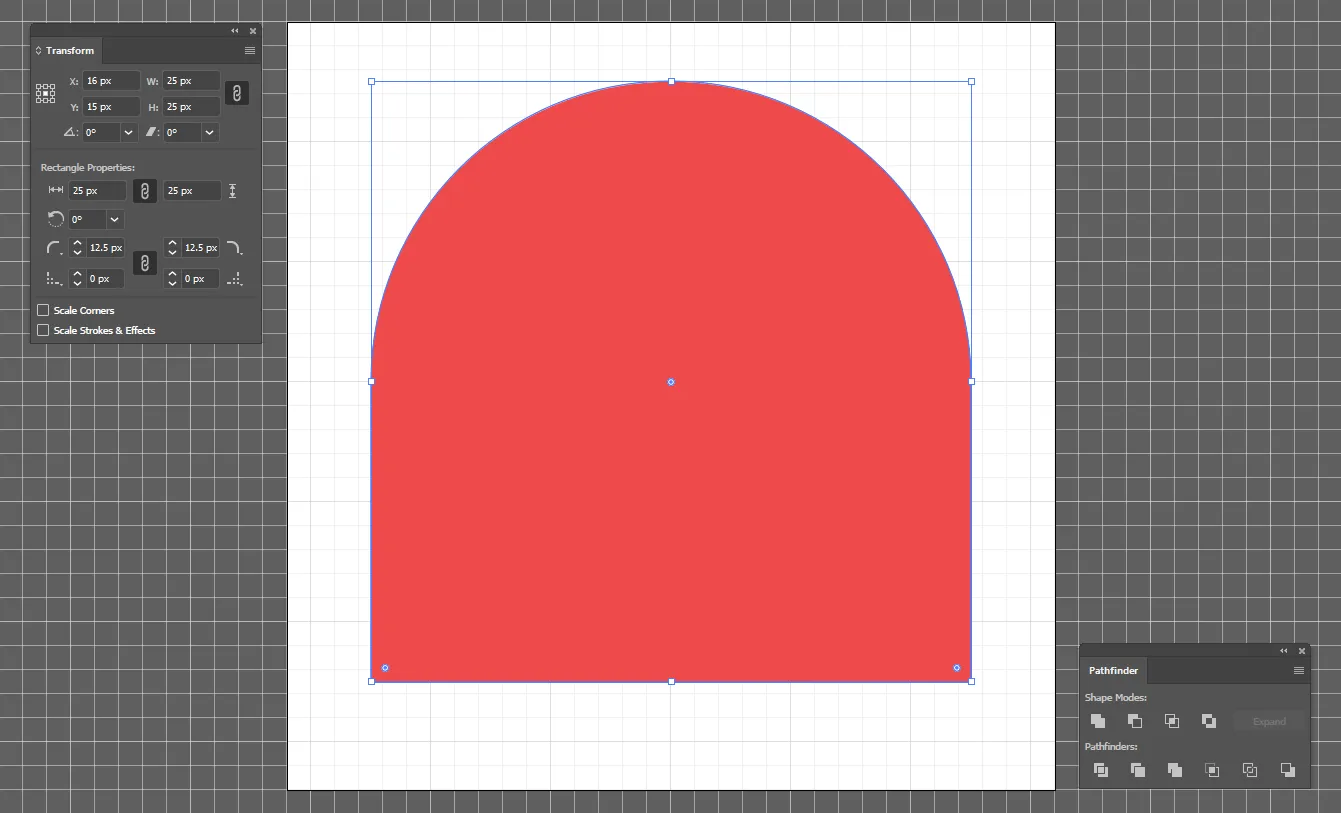
Step 2:
Select upper two points of square and make both Corner Radius to 3.5px.
- Left Radius: 3.5px
- Right Radius: 3.5px
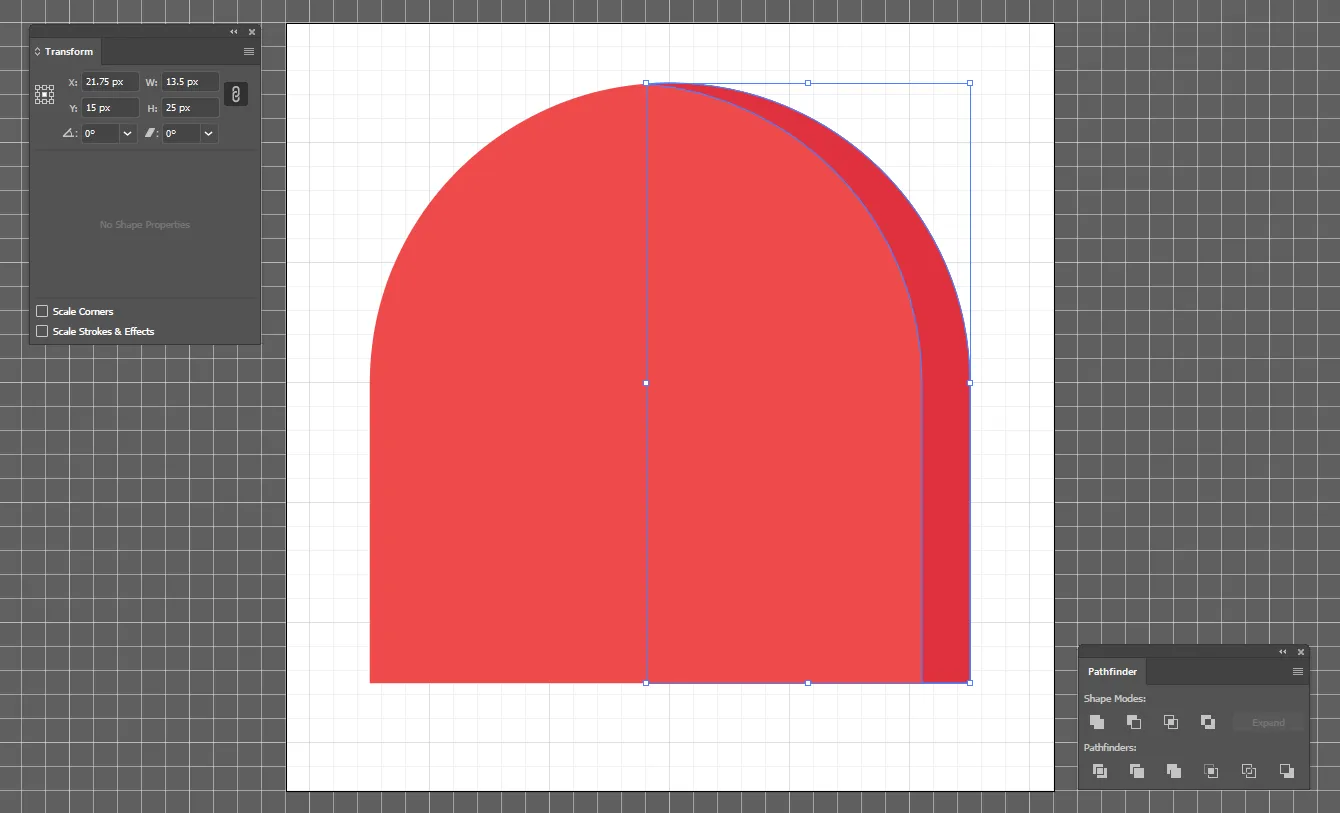
Step 3:
Make a copy of Square with Alt + -> (Right Arrow Key) and shift copied Square to 2px Right side and give shadow effect with the fill color.
- Fill: Color: Red (#e0313f)
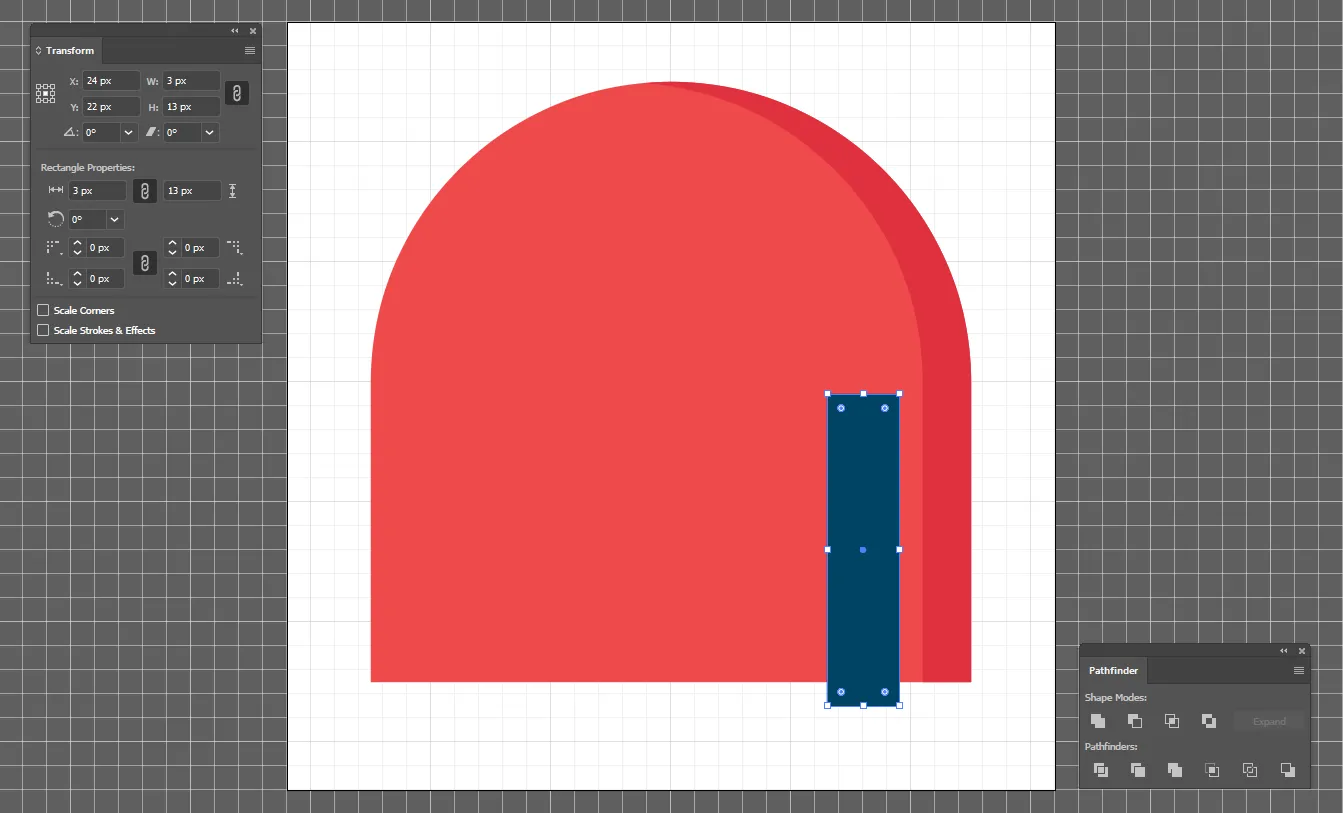
Step 4:
Grab Rectangle Tool (M) and create a 3 x 13 px Rectangle.
- Width: 3px
- Height: 13px
- Position: X: 24px; Y: 22px
- Stroke: 0px
- Fill: Color: Any color
Select Left upper Anchor point and give corner radius to it.
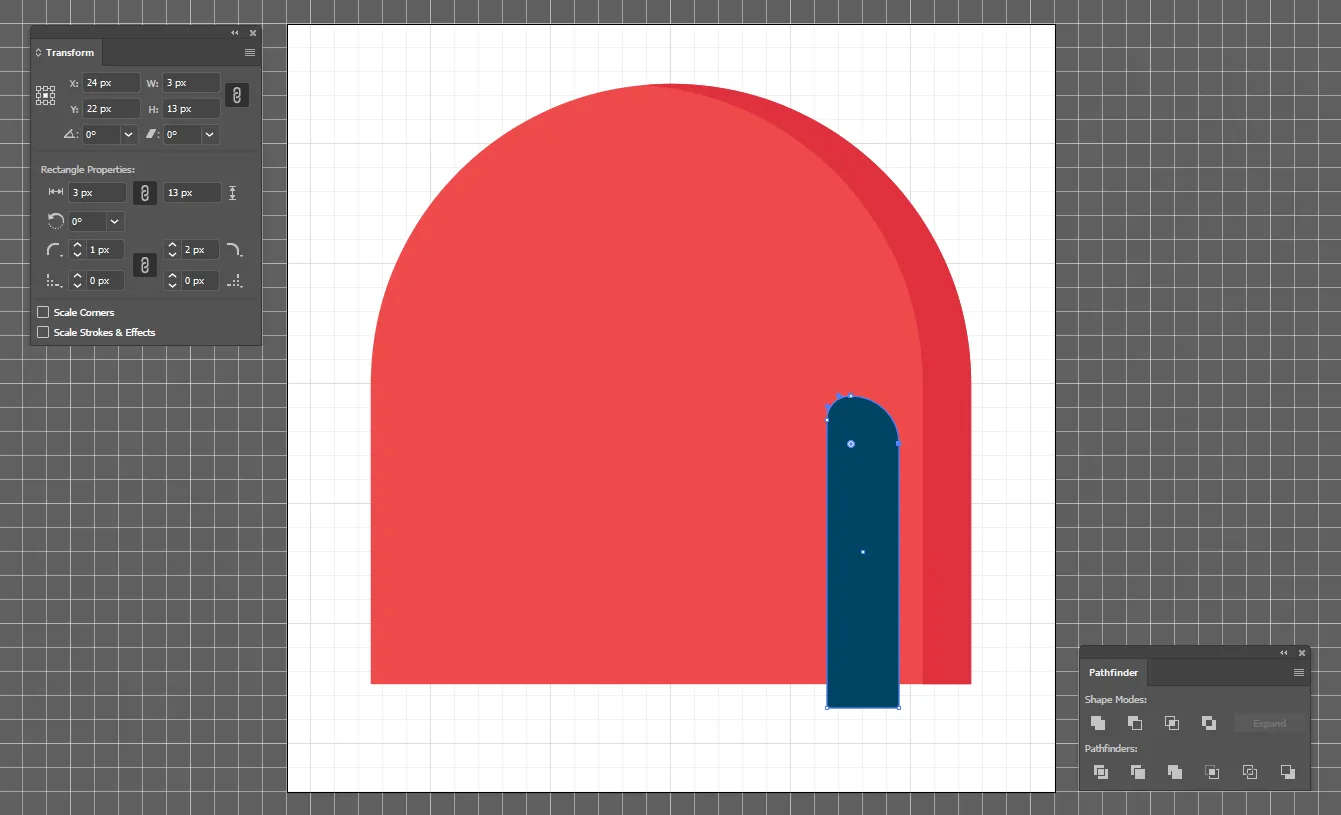
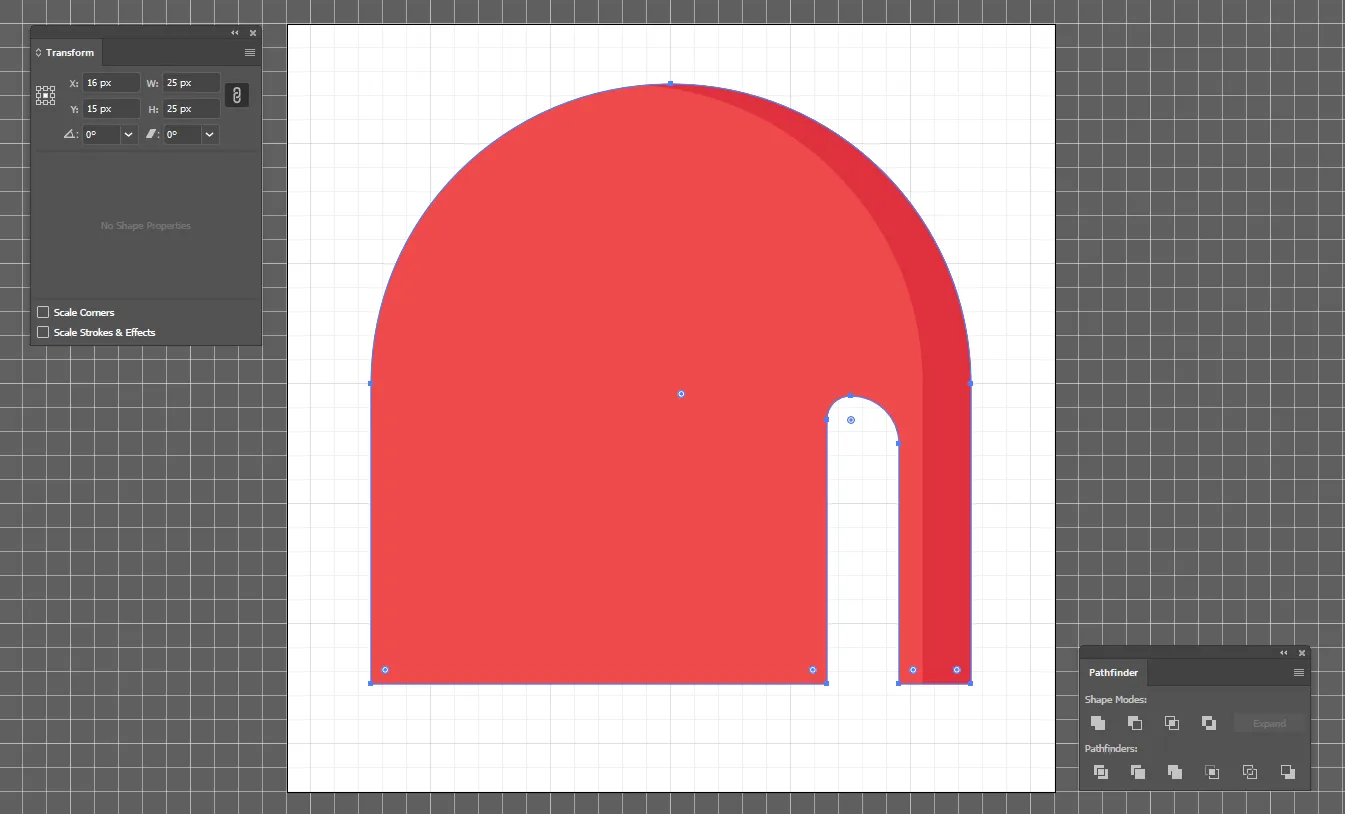
Step 5:
Open Pathfinder from Window -> Pathfinder or Shift + Ctrl + F9.
Select all both objects and perform Minus Front (Second option in Shape Modes) from Shape Modes.
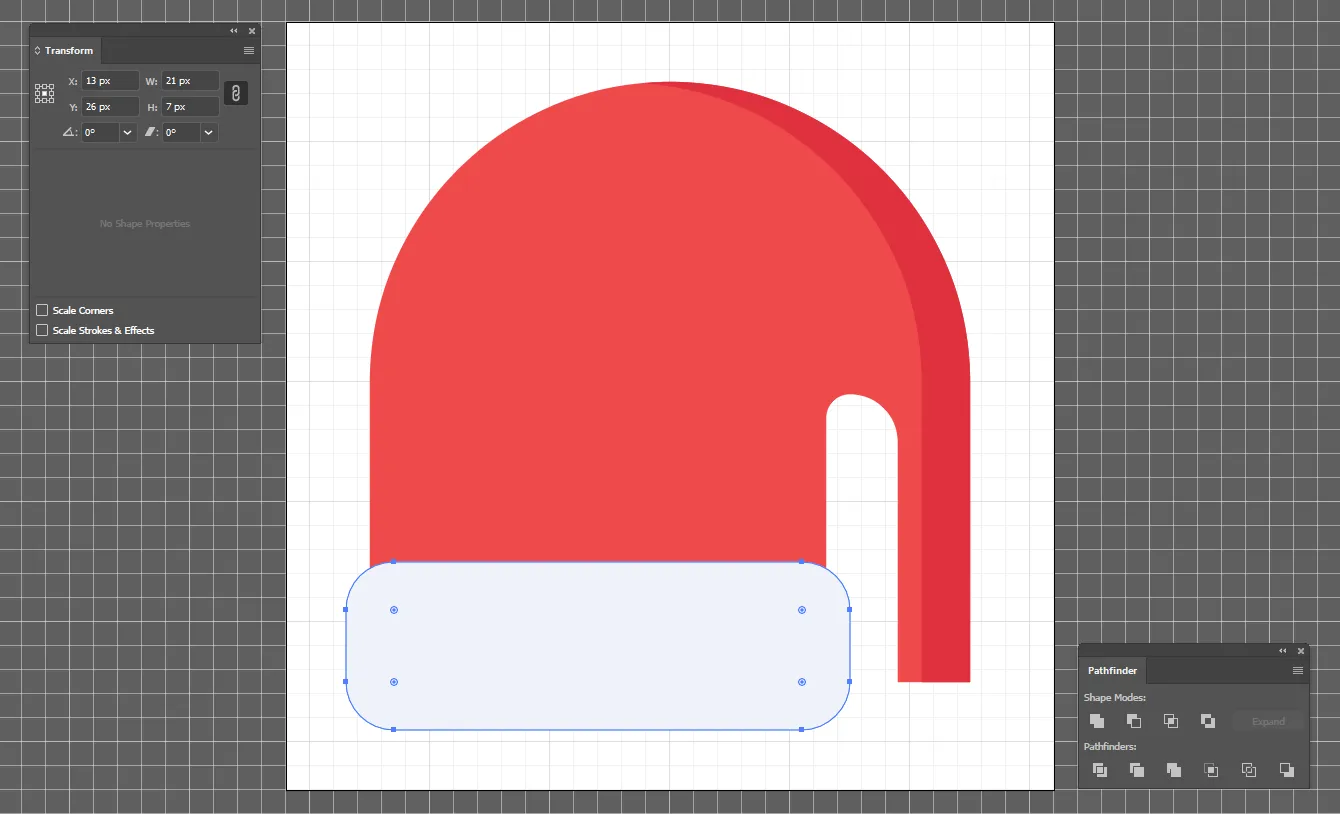
4. Santa Claus Hat Phase 2
Step 1:
Grab Rectangle Tool (M) and create a 21 x 7 px Rectangle.
- Width: 21px
- Height: 7px
- Position: X: 13px; Y: 26px
- Stroke: 0px
- Fill: Color: White (#eef2fa)
Select all Rectange points and make round corner to 2px.
Step 2:
Grab Ellipse tool (L) and create 5 x 5 px first Circle.
- Width: 5px
- Height: 5px
- Stroke: 0px
- Position: X: 27px; Y: 20px
- Fill: Color: White (#eef2fa)
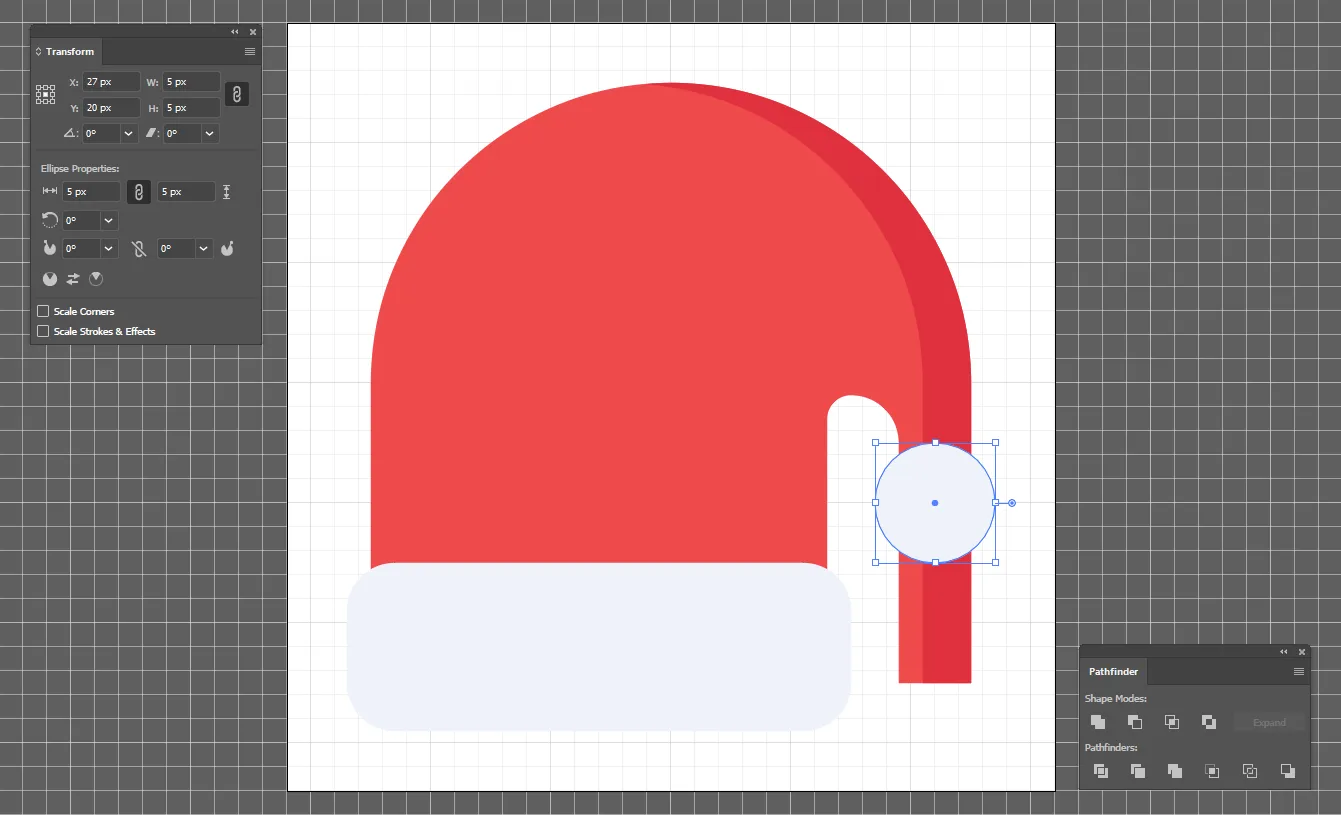
Select Red object, select tailing rectangle points and shift it upwards behind circle like shown in below image.

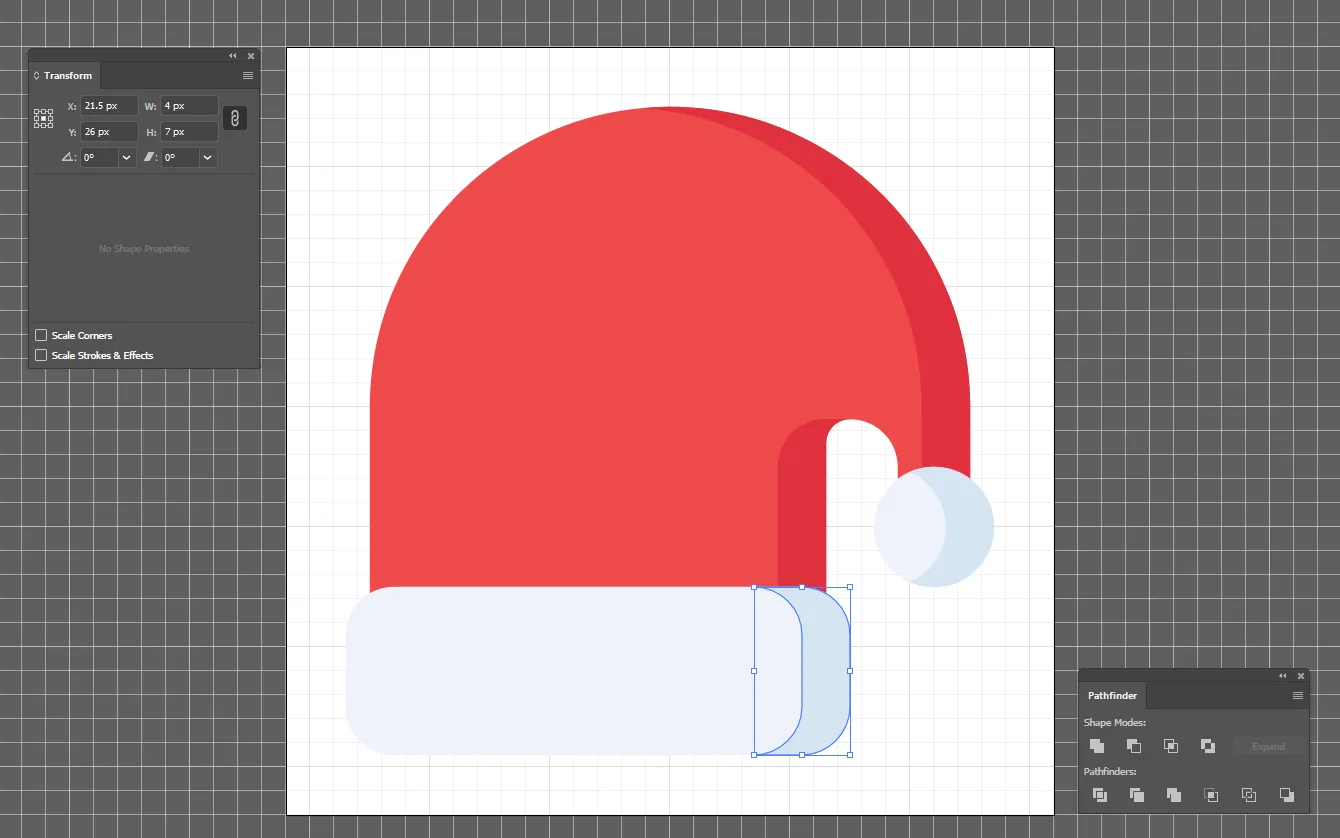
Step 3:
Grab Rectangle Tool (M) and create a 4 x 10 px Rectangle.
- Width: 4px
- Height: 10px
- Position: X: 22.5px; Y: 20.5px
- Stroke: 0px
- Fill: Color: Red (#e0313f)
Select uper left point and make corner radius to 2px.

Step 5:
Duplicate Red Hat object and perform Intersect operation with Rectangle.
Open Pathfinder from Window -> Pathfinder or Shift + Ctrl + F9.
Select both objects and perform Intersect (Third option in Shape Modes) from Shape Modes.

Step 6:
Make a copy of Circle with Alt + -> (Right Arrow Key) and shift copied Circle to 2px Right side and give shadow effect with the fill color.
- Fill: Color: White (#d5e5f2)
Make a copy of Rectangle with Alt + -> (Right Arrow Key) and shift copied Rectangle to 2px Right side and give shadow effect with the fill color.
- Fill: Color: White (#d5e5f2)
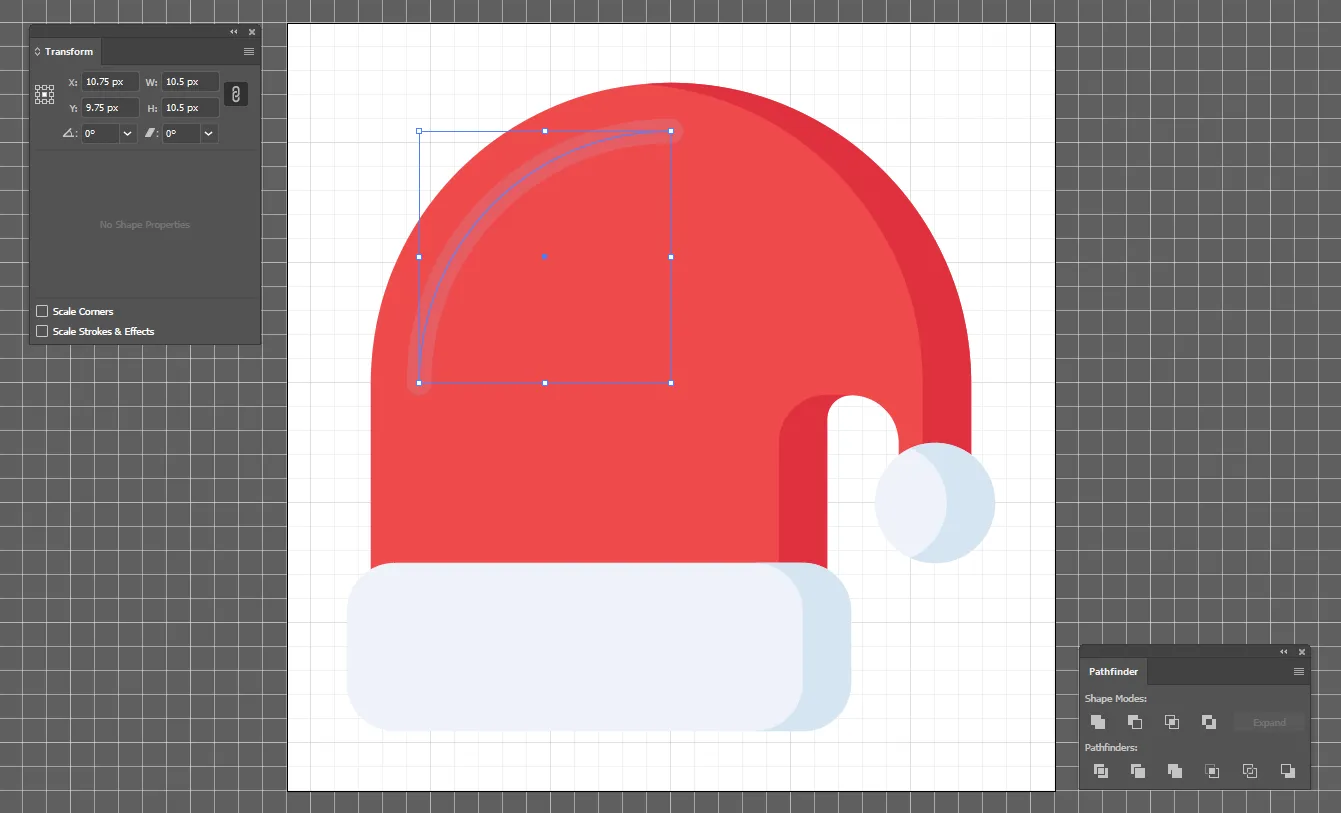
5. Santa Claus Hat Phase 3
Step 1:
Grab Ellipse tool (L) and create 21 x 21 px Circle.
- Width: 21px
- Height: 21px
- Stroke: 1px
- Position: X: 16px; Y: 15px
- Color: White (#e85d64)
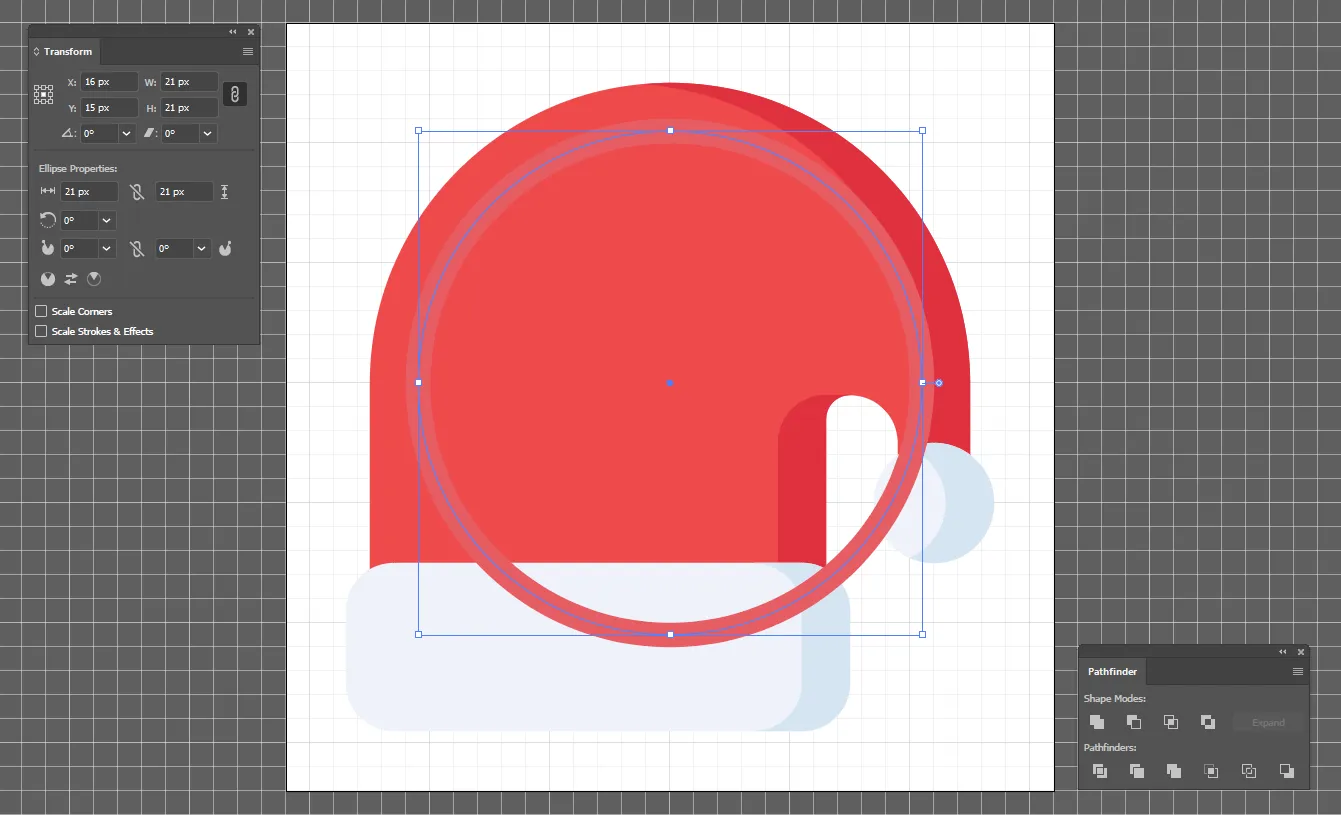
Select Circle and put Start angle at 90 degree and End angle at 180 degree. Select corner anhor point and delete it.
Step 2:
Make a line of 1px with the following position.
- Position: X: 5.5px; Y: 17.5px
Make 3 circle of 1px and put it for decoration as shown in below image.
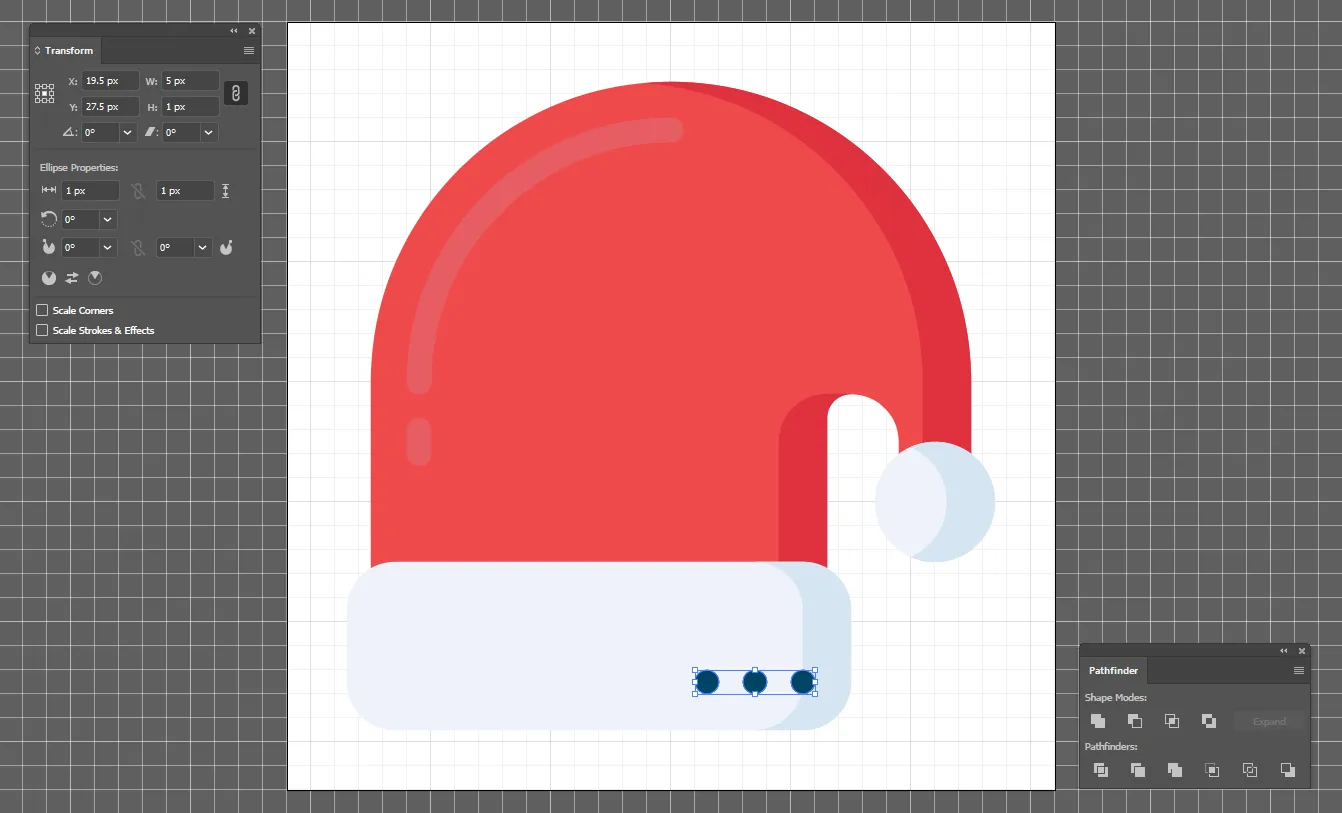
Final Output:

Over to you
On occasion of Christmas, Iconscout is giving 70% off on its Pro plans. Now download Unlimited icons from 550,000+ icons in just $9. To activate the plan, use promo code: XMAS70.
We hope you find really good inspiration for your next design from this beautiful shots. Have you come across any good icon or illustration design that we forgot to mention? We’d love to hear about it in the comments below! Also, don’t forget to check our latest article series ‘Design Insights’ where we are covering design process of best Indian startups. Check out our first interview with Razorpay. Don’t forget to share and subscribe! ?
tutorials
adobe tutorial
design tutorial
how to design christmas icon
how to design icon
icon design tutorial
icons in few steps
illustrator tutorial
learn icon design
santa claus hat icon design
Share on


Related Blogs

Access the world's largest Design Ecosystem: Assets, Integrations, and Motion.
