How to Insert Icons, Vector Illustrations, 3D Illustrations and Animations in Figma
All the design assets you’ll ever need for Figma – at your fingertips.
Almost eight out of ten user interface (UI) designers use Figma. That’s a lot of you! And it’s no wonder – Figma is a robust tool for creating user interfaces and prototypes, as well as collaborating with your team.
But while creating with Figma with easy, finding the right design assets for mockups and prototypes can be a chore. No worries. Here’s how you can insert thousands of free and premium design assets – such as icons, illustrations 3D assets and animations – in Figma in just a few clicks with the IconScout for Figma plugin.
Install the IconScout for Figma plugin
Here’s how to install the plugin:
- Visit the IconScout for Figma plugin page.
- Click Install now.
- Click Try it out.
- A new Figma file will open. Click Run to run the plugin.
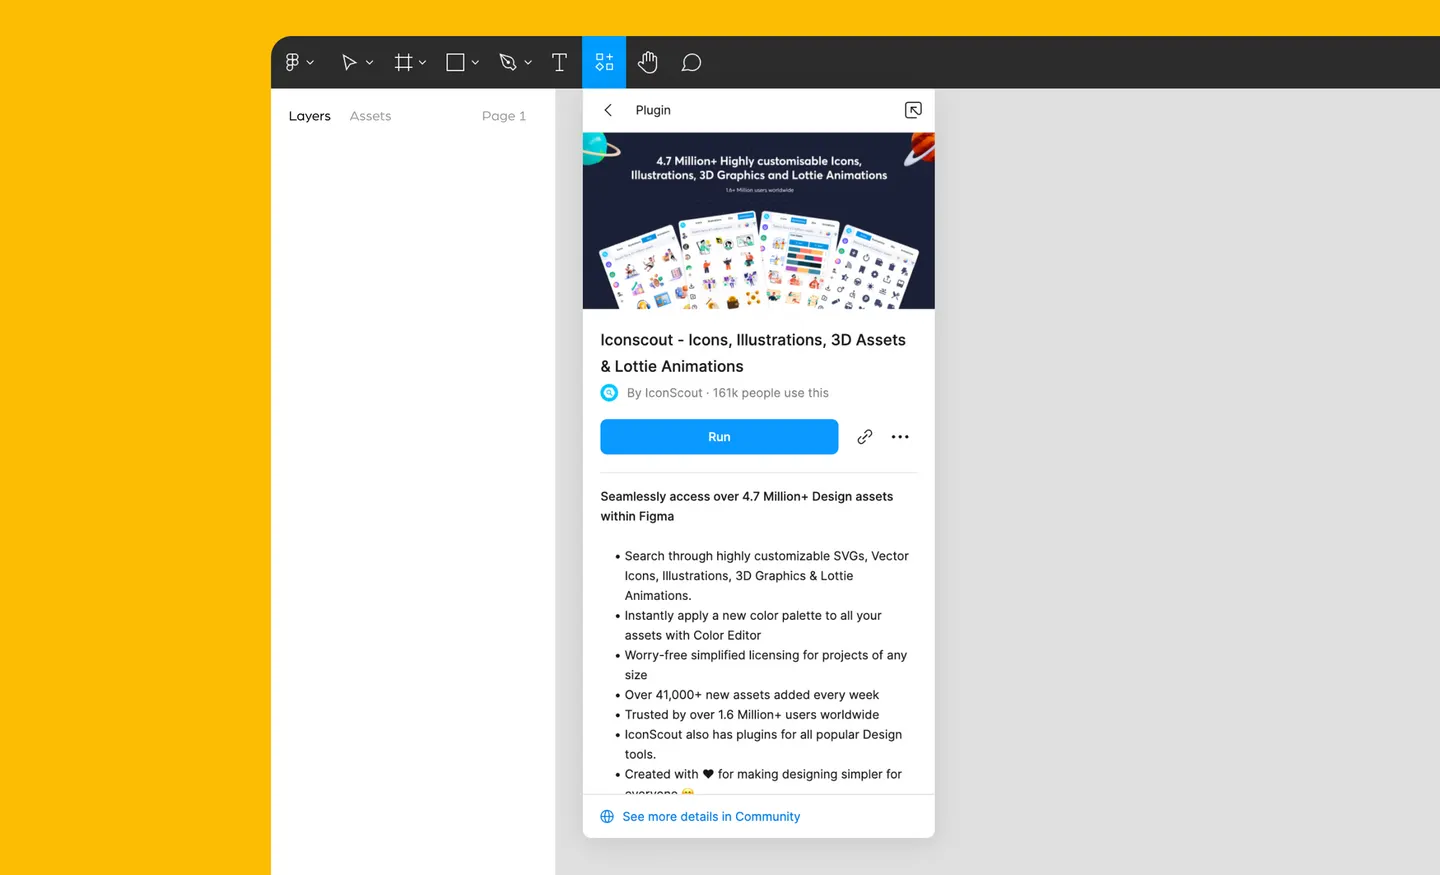
- If this is your first time running the plugin, you will be prompted to log in. Make sure that you have an IconScout account (it’s free!), then click Login with Web in the plugin.
- A new window will pop up. Click Grant Access.
Once you have the plugin installed, you can also open any Figma file and run the plugin by right-clicking > Plugins > IconScout.
How to insert icons in Figma
Go to the Icons tab and scroll down to find an icon you like, or search for an icon. The IconScout for Figma plugin gives you several powerful options to filter your search results. You can:
- Sort search results by relevance, popularity, latest or featured assets.
- Search by free assets, or premium assets under IconScout’s All Access plan.
- Specify an icon style – such as flat, colored outline, glyph, isometric, dualtone, gradient, doodle, rounded and sticker icons.
Once you find an icon you like, there are three ways to insert them into Figma:
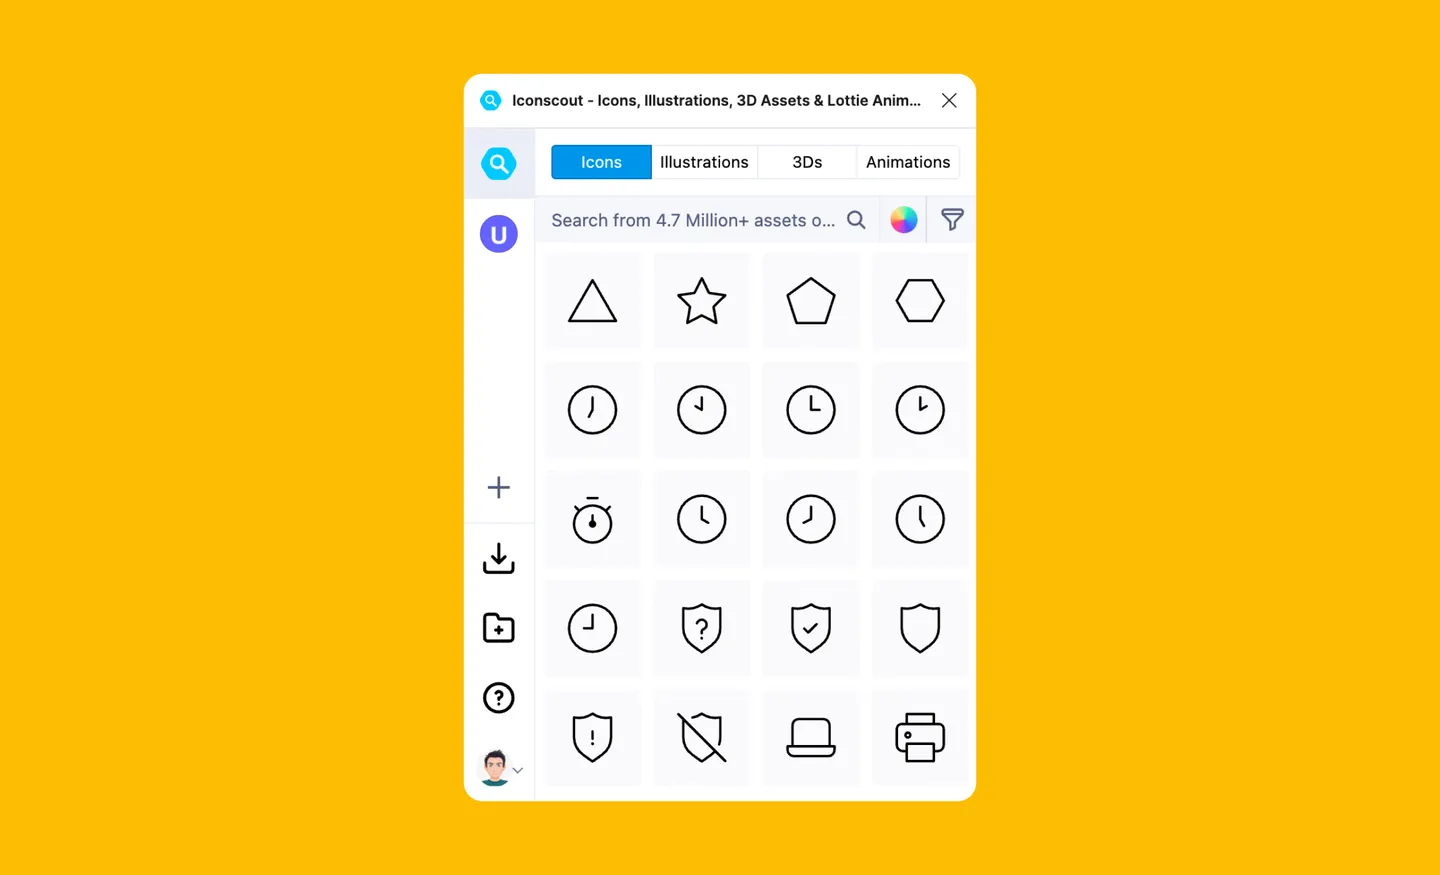
- Drag and drop any icon from the plugin into the Figma canvas.
- Click on an icon to insert it.
- Click on an existing element in your Figma canvas, then click on an icon to replace the element with your chosen icon.
You can choose to insert icons in SVG or PNG format. But which icon format should you choose for your user interface design? Easy – choose the SVG file format if you’d like to edit the icon later. There are lots of ways you can edit SVG icons in Figma – here are two popular ways:
a) Change the color of icons in Figma
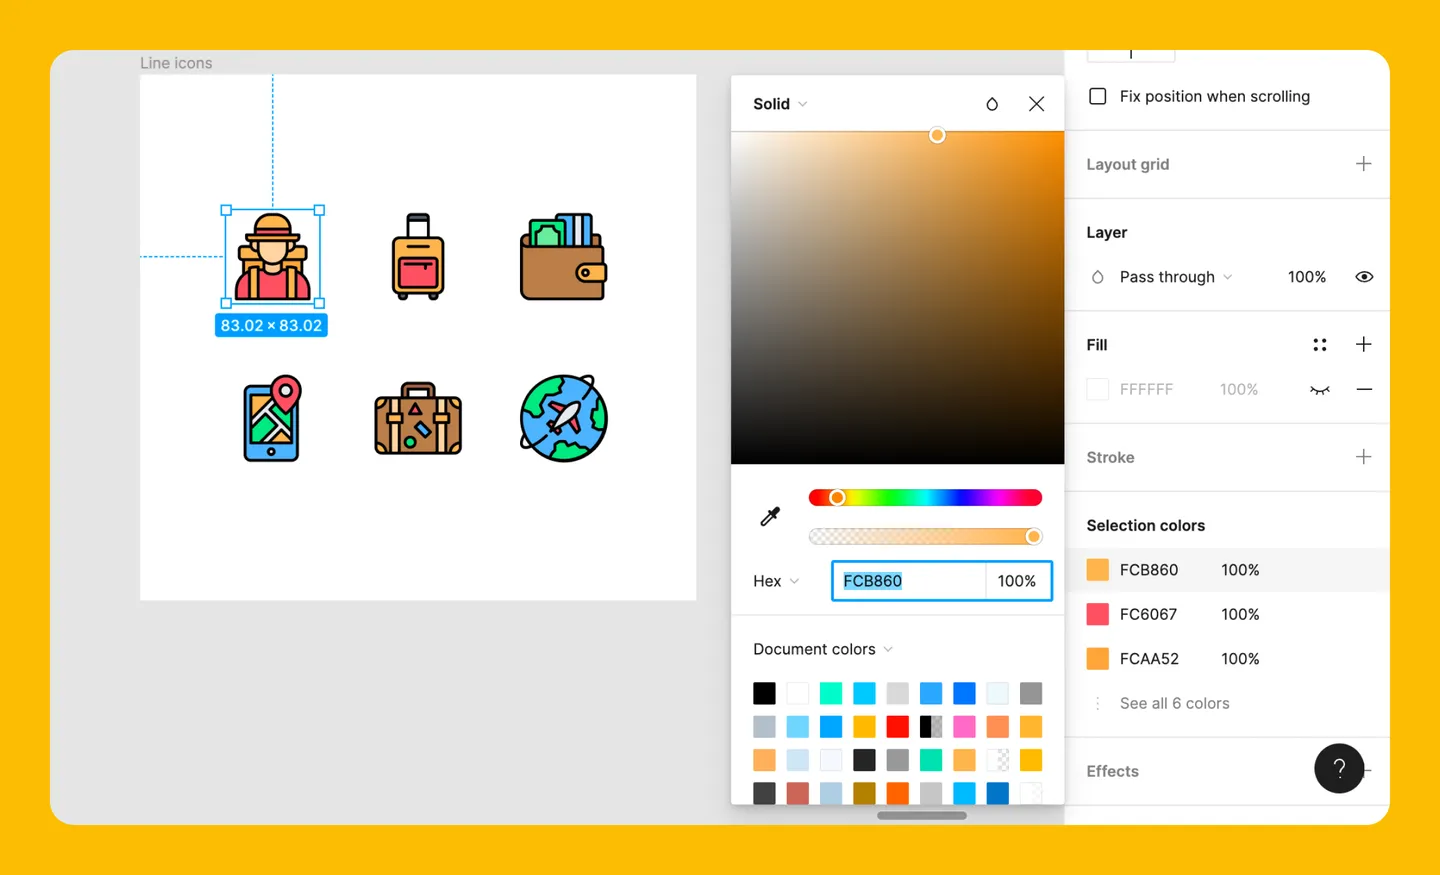
- Select any icon.
- In the right-hand panel, under Fill, you’ll see all the colors being used in this icon.
- Click on the color you’d like to change, then pick a new color.
- The icon’s colors will update instantly.
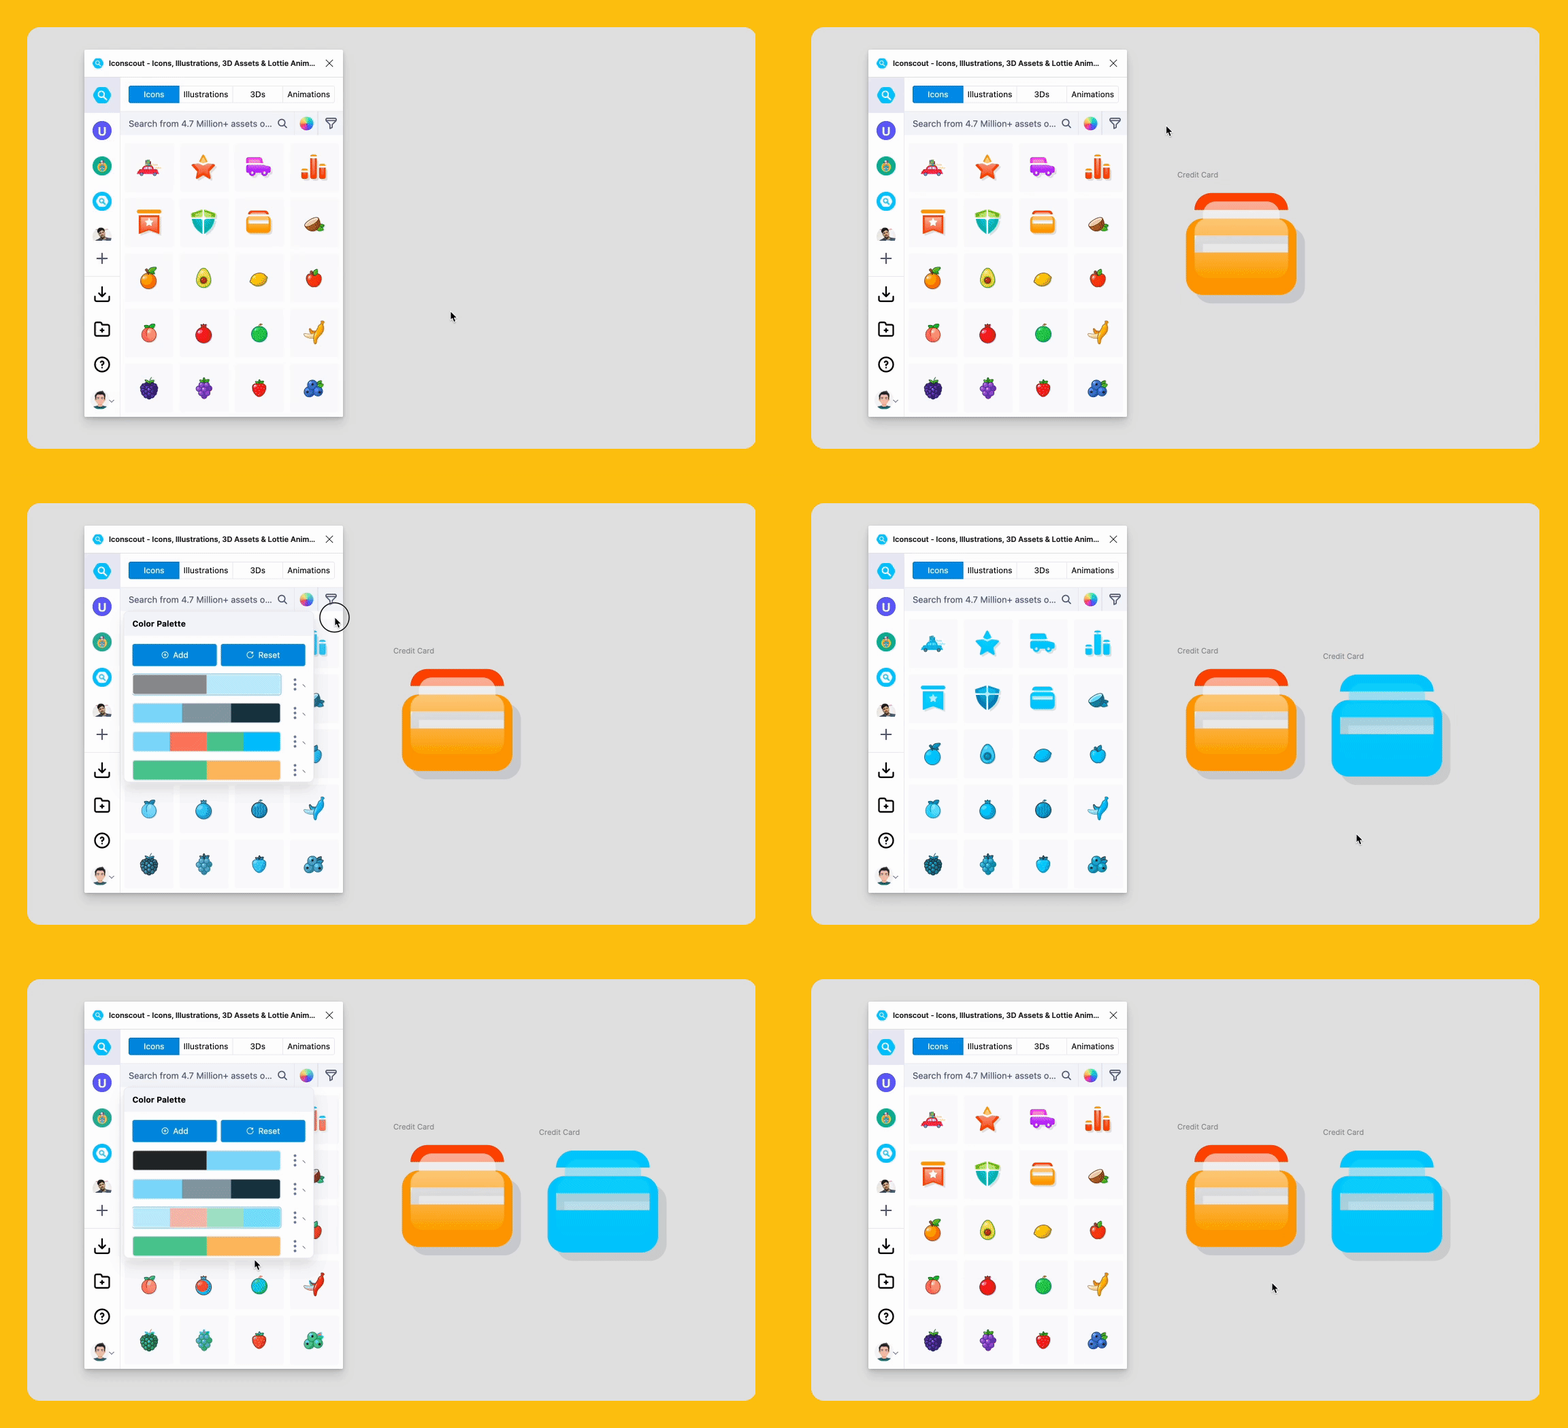
Alternatively, you can also use the Color Palette feature to automatically apply your brand colors to icons. Just click on the Color Palette wheel, then use a preset palette or add your own. All the icons in the plugin will update to match your new palette.
b) Add an icon stroke in Figma
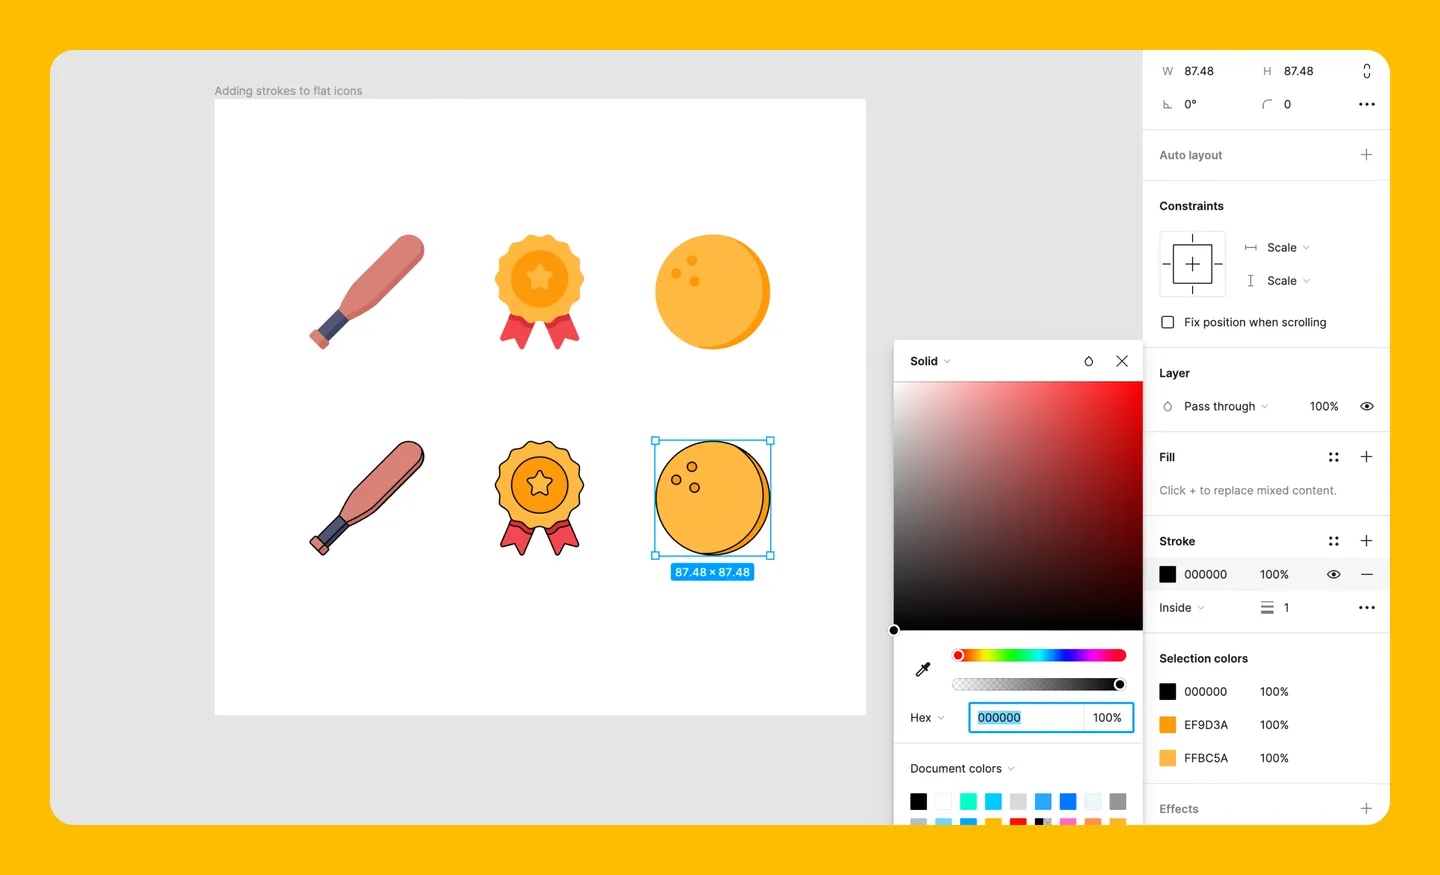
- Select any icon.
- Click on the element you’d like to add a stroke to.
- In the right-hand panel, click Stroke.
- You can change the stroke size, color, opacity and more.
How to insert vector illustrations in Figma
How do you add illustrations to Figma? Just head to the Illustrations tab and scroll down to find an illustration you like, or search for an illustration. Just like searching for icons, you can sort and filter the results.
To add an illustration into Figma, you can:
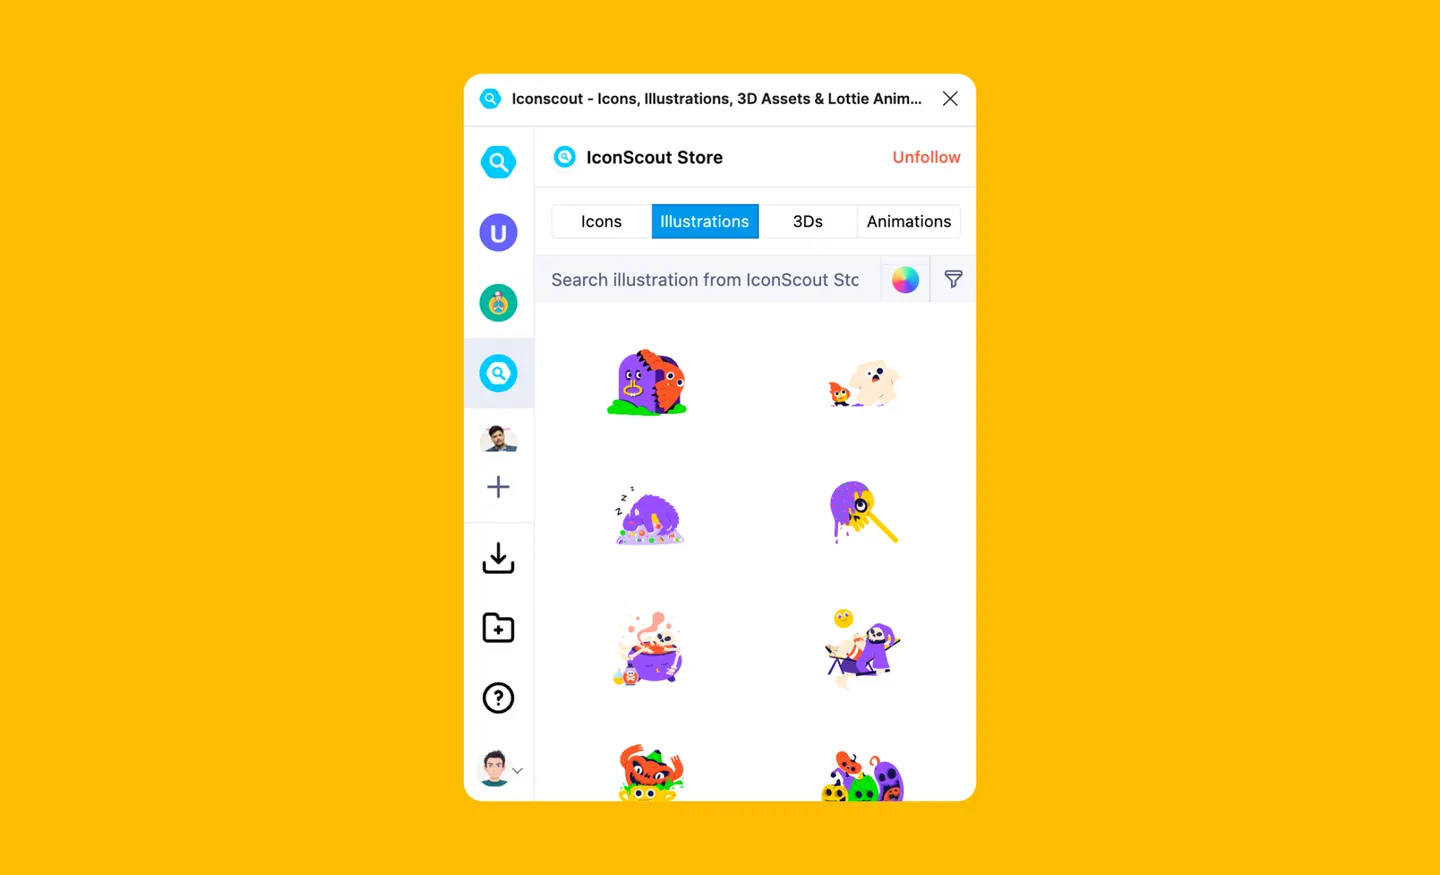
- Drag and drop any illustration from the plugin into the Figma canvas.
- Click on an illustration to insert it.
- Click on an existing element in your Figma canvas, then click on an illustration to replace the element.
You can insert an illustration in three formats:
- Thumb PNG - A low-resolution PNG, which loads fast but may lose quality when used in large sizes.
- PNG - A high-resolution PNG with a larger file size, but stays sharp when used in large sizes.
- SVG - An editable file format that always stays sharp when scaled up.
a) Edit illustrations in Figma
If you’ve inserted the illustration as an SVG file, there are tons of customization at your disposal. Each SVG file is made up of shapes that represent each element in the illustration. You can select any of these elements to move it, resize it or change its color.
b) Change the color of illustrations in Figma
Changing the colors of an illustration uses the same method as changing the colors of an icon.
- Select any illustration.
- In the right-hand panel, under Fill, you’ll see all the colors being used in this illustration.
- Click on the color you’d like to change, then pick a new color.
You can also use the Color Palette feature here. Click on the Color Palette wheel, then use a preset palette or add your own. All the illustrations in the plugin will update to match your new palette.
How to insert 3D illustrations in Figma
Go to the 3Ds tab in the plugin and scroll down to find a 3D icon or illustration you like, or enter a search term.
To insert a 3D icon or illustration:
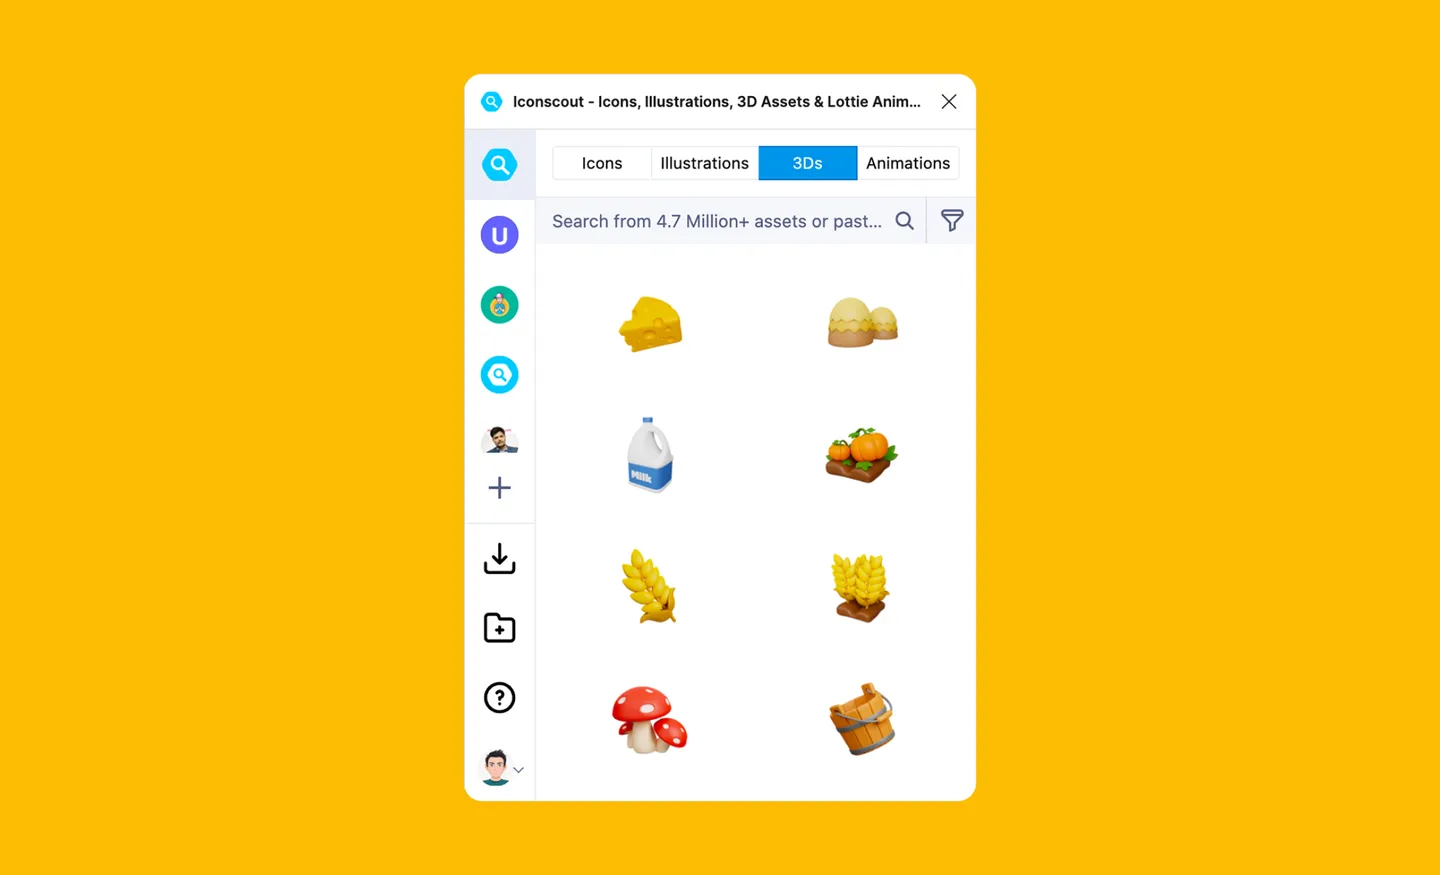
- Drag and drop it into the Figma canvas.
- Click on a 3D asset to insert it.
- Click on an existing element in your Figma canvas, then click on a 3D asset to replace the element.
How to insert animations in Figma
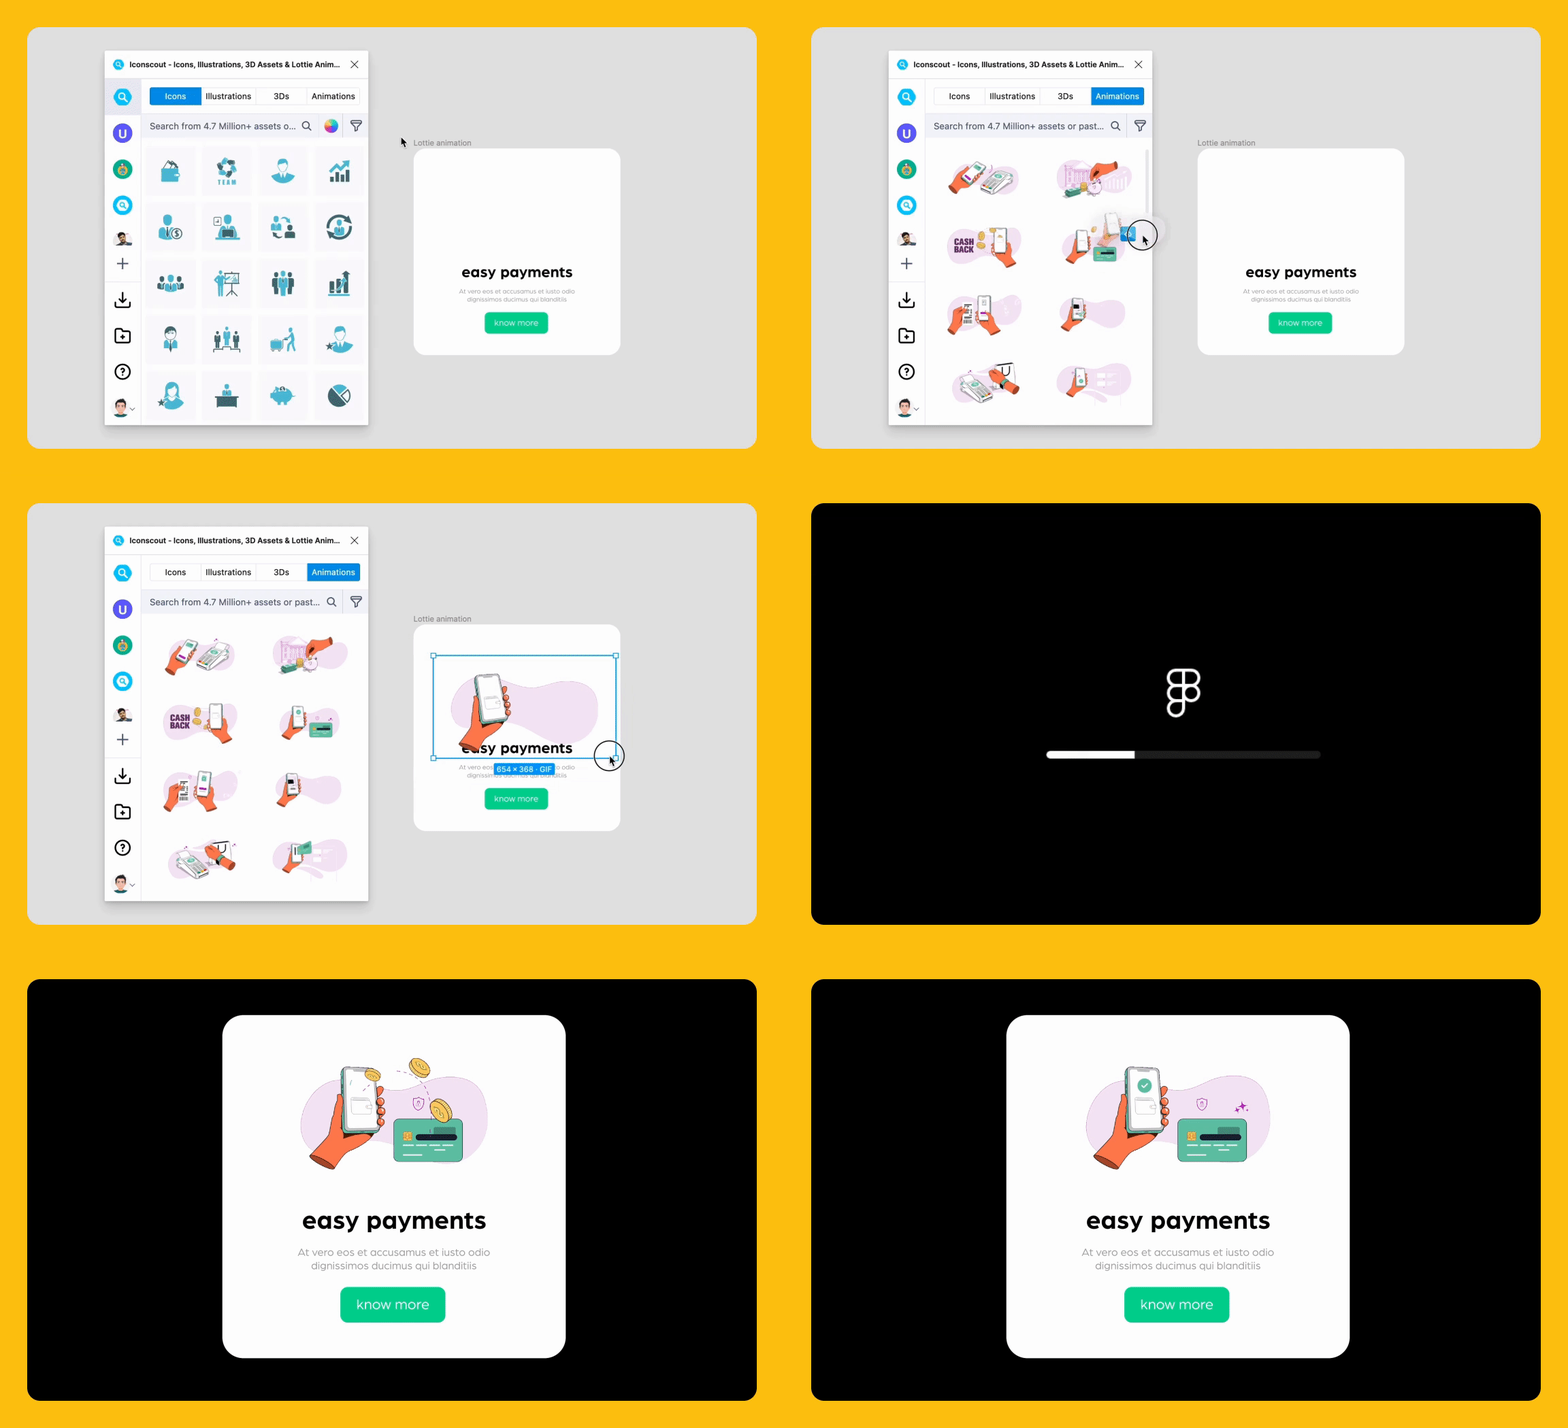
The IconScout for Figma plugin offers thousands of Lottie animations that you can insert into Figma as a GIF format. To insert an animation, go to the Animations tab in the plugin and scroll down until you find an animation you like, or enter a search term. You can insert it as a Thumb GIF (low resolution) or GIF (high resolution).
There are tons of ways to animate your user interface – insert animated characters, micro-interactions, animated buttons, loading animations and more in Figma.
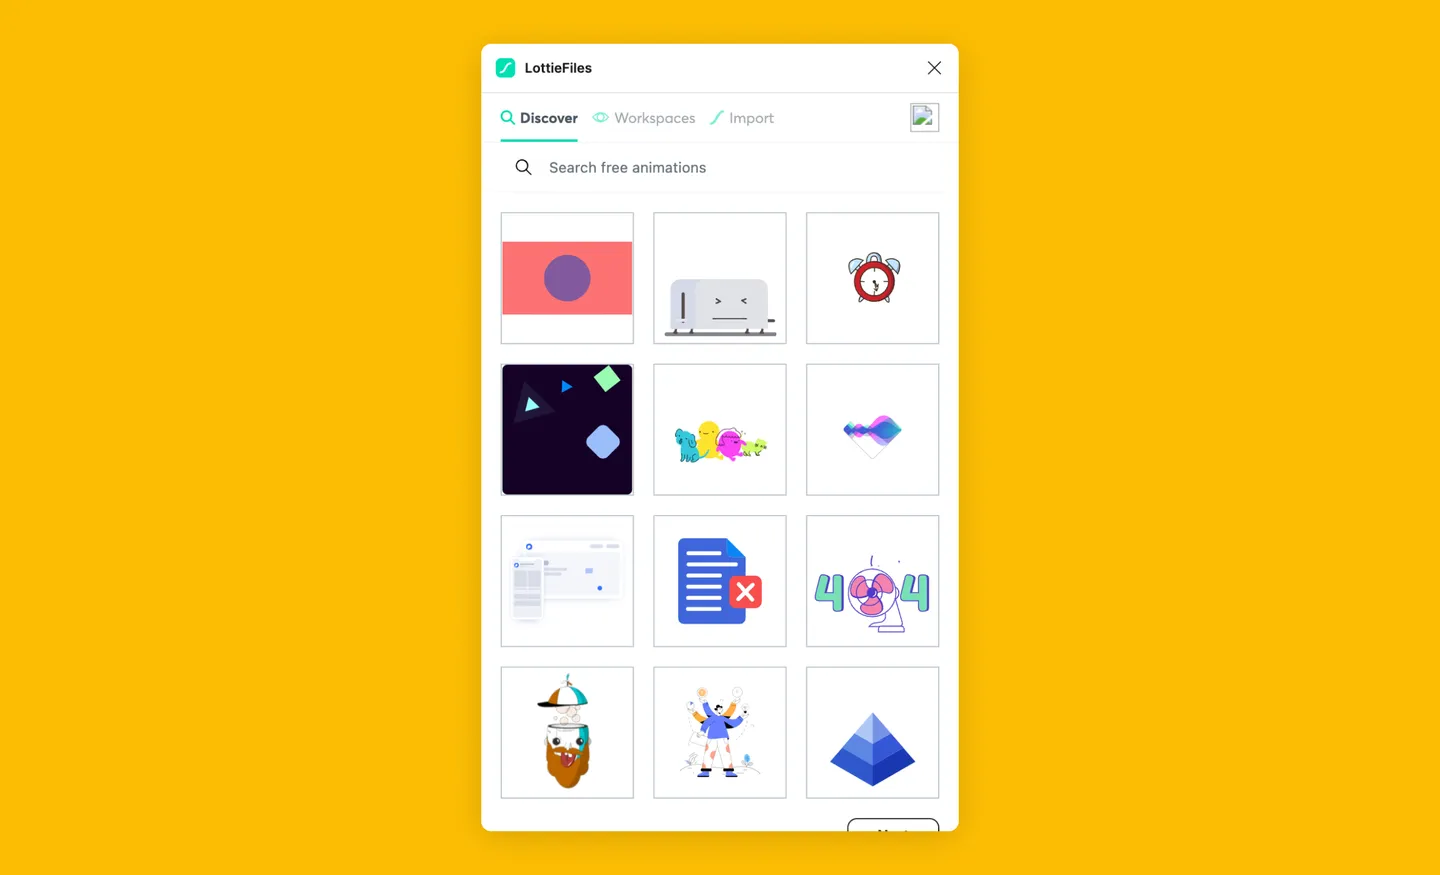
Alternatively, you can also try the LottieFiles for Figma plugin, which offers thousands of free Lottie animations with extra customization options. You can insert these animations as GIF files, or insert individual animation frames as SVG images. You can also use its Color Palette feature to apply your brand colors in a single click.
Design resources for all your favorite tools
With these tips, we hope you never run out of the right design assets again! To learn more about using the IconScout for Figma plugin, check out our guide to speeding up your workflow here.
If you happen to prefer other tools, such as Adobe XD or Canva, no worries – we have plugins for them too. Check out our full list of plugins to get all your favorite design assets, on any design platform.
Related Blogs
Access the world's largest Design Ecosystem: Assets, Integrations, and Motion.


